
Are you searching for a stylish yet practical accessory to keep you warm? Acrochet chunky twisted cable ear warmer headbandis the perfect solution. This cozy accessory combines the warmth of an ear warmer with the chic look of a headband. It is ideal for chilly days when you need extra comfort.
This article provides a comprehensive guide and a free pattern for creating your own twisted cable ear warmer. You will learn the specific crochet stitches required for this chunky design. We will walk you through each step, making it easy for even a beginner to follow. Get ready to transform some yarn into a beautiful and functional piece.
Unlock the Joy of Crocheting: What You’ll Create
You will create a stylish and warm accessory perfect for the colder months. Thiscrochet chunky twisted cable ear-warmer headbandis a fantastic project, offering both aesthetic appeal and practical warmth. Imagine wearing your handmade creation on a brisk winter day. This tutorial guides you through each step, ensuring a beautiful result. You will use a crochet hook to form the distinctive twisted cable design. The finished piece will feature a comfortable, ribbed texture, making it an excellent gift for friends or family. You can download the digital pdf for this project.
Pattern Details at a Glance: Everything You Need to Know
This section provides a quick overview of the crafting project, detailing essential information at a glance. You will find all the necessary specifications for creating this warm accessory. This project is suitable for those with some prior experience in working with yarn.
The finished piece measures approximately 4.5 inches wide and 18 inches in circumference. This size fits most adults comfortably. Adjustments can be made to customize the fit, if needed. Furthermore, the instructions include specific stitch counts for consistent results.
Here’s a summary of the project specifications:
| Feature | Detail |
|---|---|
| Skill Level | Intermediate |
| Finished Dimensions | 4.5” W x 18” C |
| Construction | Worked flat, then seamed |
| Main Stitch | Front Post Double Crochet |
Consider making a matching item like acrochet sweater keychain. Alternatively, explore other useful creations such as acrochet phone bag pattern. These projects help you hone your skills.
Materials & Tools: Gathering Your Supplies
Gathering your supplies is the first step to creating your beautiful accessory. You will need specific items to ensure your project turns out perfectly. Having everything ready before you start makes the crafting process smooth and enjoyable. Here’s a list of the materials and tools you will need:
| Item | Description/Quantity |
|---|---|
| Fiber | Worsted weight (Category 4), approximately 80-100 yards |
| Crafting Tool | 6.0 mm (J/10) size |
| Markers | Two small locking markers |
| Measuring Tape | Standard flexible tape measure |
| Scissors | Sharp pair for cutting fiber |
| Finishing Needle | Blunt-tipped darning needle |
Selecting the right fiber is crucial for the texture and warmth of the finished piece. Consider a soft, durable option for maximum comfort. Furthermore, using the correct crafting tool size helps achieve the desired tension and fabric density. This ensures your accessory has a professional finish.
Stitch Guide & Abbreviations: Your Crochet Dictionary
Do you need to understand specific terms used in this crafting project? This section serves as your essential dictionary, explaining all abbreviations and special techniques. Familiarizing yourself with these terms ensures a smooth crafting experience. You will find clarity on various abbreviations and their corresponding meanings.
Ch:This abbreviation stands for ‘chain’. To perform this, make a slip knot on your crafting tool. Then, wrap the fiber over the tool and pull it through the loop. Repeat this action for the number of chains required.
Sl St:This means ‘slip connection’. Insert your crafting tool into the indicated spot. Wrap the fiber over the tool and pull it through the fabric. Then, pull it through the loop already on your tool.
Sc:This refers to ‘single craft’. Insert your crafting tool into the specified spot. Wrap the fiber over the tool and pull up a loop. You will have two loops on your tool. Wrap the fiber over the tool again and pull it through both loops.
Dc:This indicates ‘double craft’. Wrap the fiber over your crafting tool. Insert the tool into the specified spot. Wrap the fiber over the tool and pull up a loop. You will have three loops on your tool. Wrap the fiber over the tool and pull through two loops. Wrap the fiber over the tool again and pull through the remaining two loops.
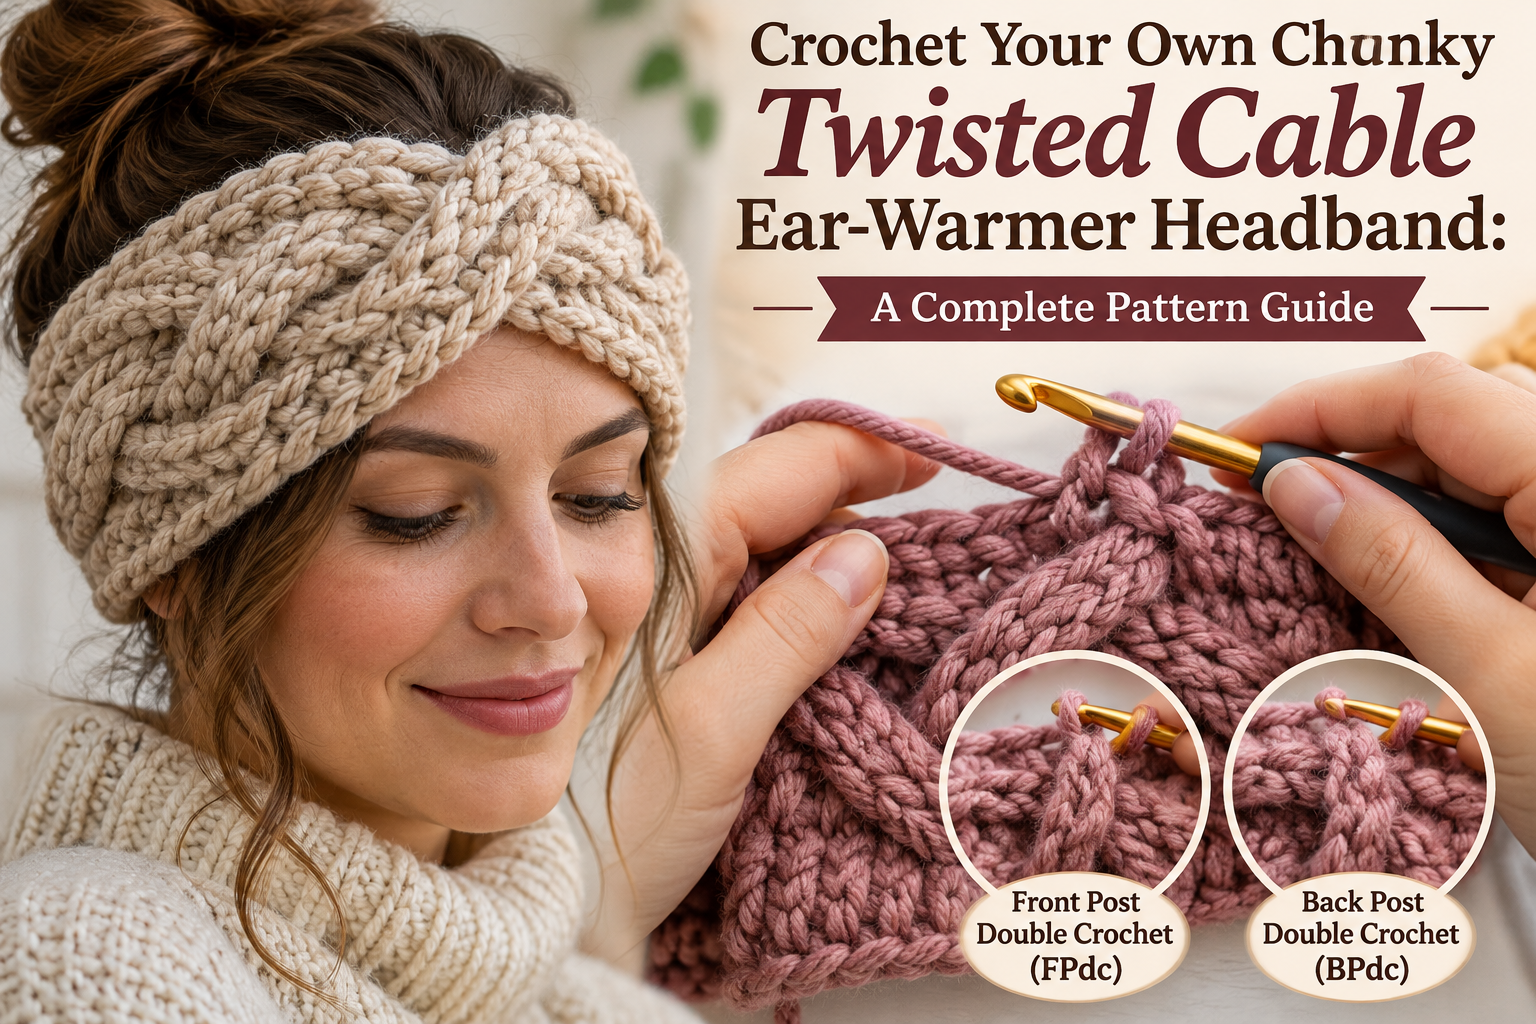
Fpdc:This stands for ‘front post double craft’. For this technique, wrap the fiber over your crafting tool. Insert the tool from the front around the post of the indicated lower row double craft. Wrap the fiber over the tool and pull up a loop. Complete the double craft as usual.
Bpdc:This means ‘back post double craft’. Wrap the fiber over your crafting tool. Insert the tool from the back around the post of the indicated lower row double craft. Wrap the fiber over the tool and pull up a loop. Finish the double craft as you normally would.
St(s):This abbreviation simply means ‘connection(s)’. It refers to individual loops or formations made with the fiber.
Rep:This is short for ‘repeat’. It instructs you to perform the preceding sequence of actions again.
Sk:This means ‘skip’. It tells you to miss the next indicated connection or space.
Yarn Recommendations for a Chunky Finish
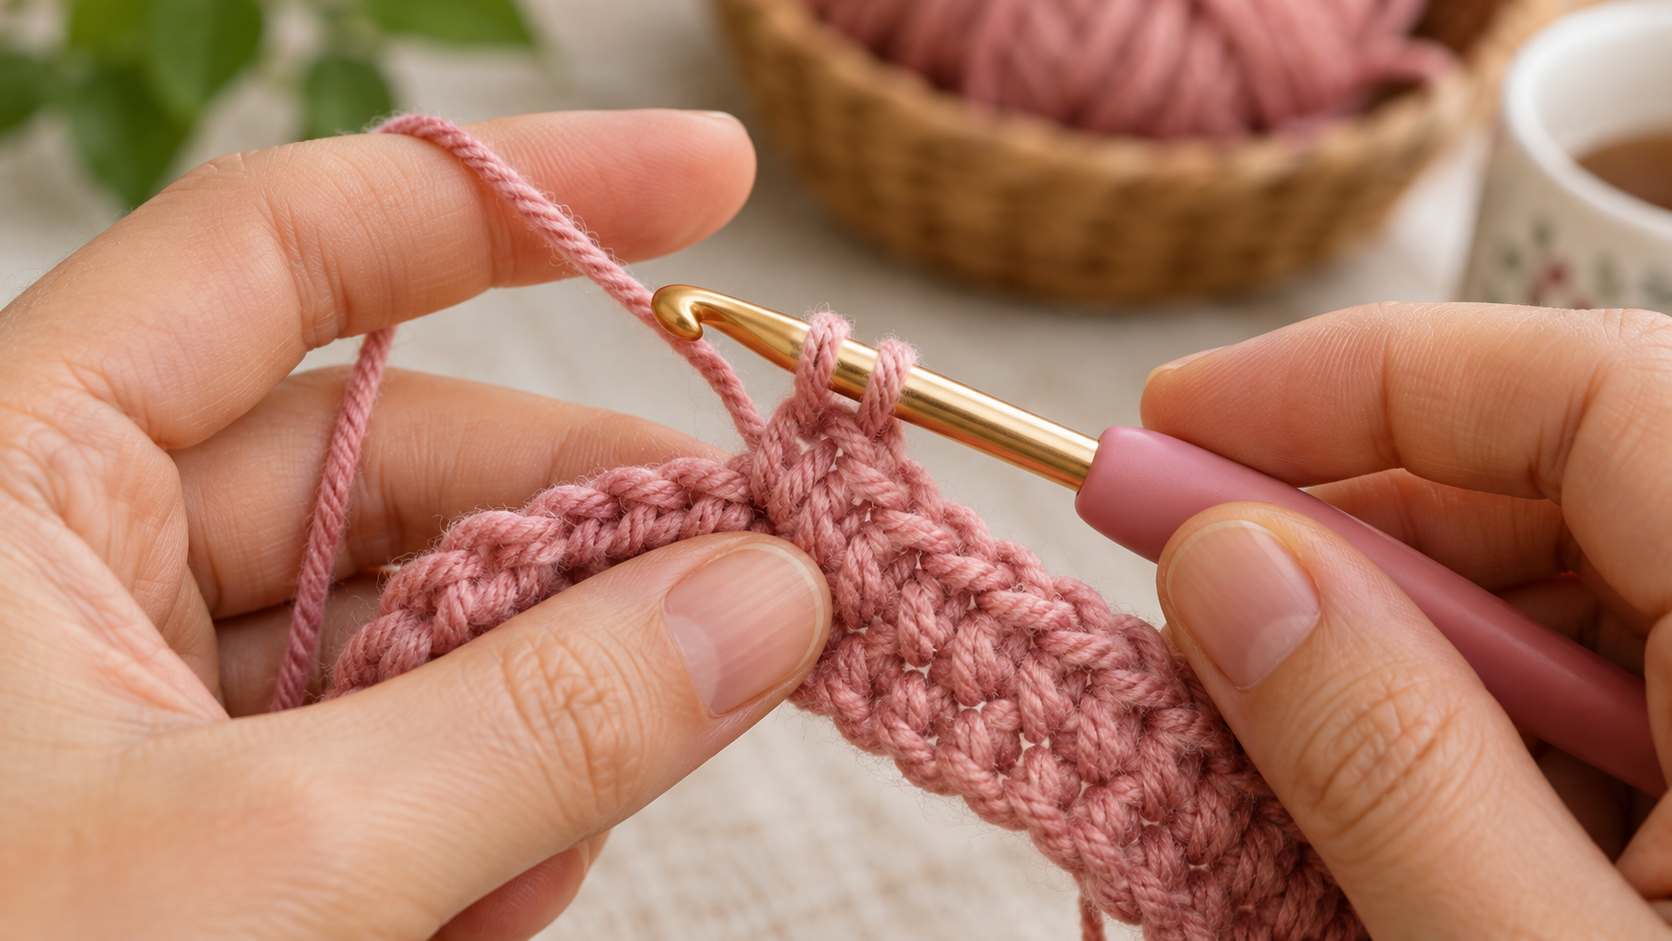
Do you want to achieve a substantial and prominent look for your accessory? Selecting the right fiber is crucial for creating a robust texture. Super bulky weight fibers are ideal for this particular project. They ensure your finished item has a full and impressive appearance. Consider using a category 6 super bulky type of fiber. This weight provides excellent warmth and a plush feel. Furthermore, it works up quickly, making your crafting experience more efficient. Wool blends or acrylic options are popular choices. They offer both durability and softness against the skin. Alternatively, you might explore chenille style fibers for an exceptionally soft accessory. These fibers create a velvety texture that is very comfortable. Always check the fiber label for recommended crafting tool sizes. This ensures you achieve the desired density and drape for yourSherpa-Lined Ear Warmersor similar items.
The Crochet Chunky Twisted Cable Ear-Warmer Headband Pattern
Are you ready to create your own stylish accessory? This guide provides all the instructions you need for a unique item. Follow these steps to craft a beautiful piece. You will begin by forming a foundation chain. This establishes the width of your accessory. Next, you will work rows of double craft formations. These rows create the base fabric. The intricate plait design is then formed using front post and back post double crafts. This technique gives the distinct raised texture. Repeat the plait sequence until your piece reaches the desired length. This ensures a snug and comfortable fit. Finally, join the ends to form a seamless loop. Weave in any loose ends for a neat finish. For visual assistance, you can find a helpful example of a similar design onPinterest.
Foundation & Initial Rows
You will begin by establishing the base for your accessory. First, create a slip knot on your crafting tool. Then, chain 36 formations. This length forms the initial circumference of your piece. Next, you will work into the second chain from your tool. Make one half double craft (hdc) in each chain across the row. This creates a solid initial strip. You should have 35 hdc formations in total. Turn your work at the end of this row. For the subsequent rows, continue with half double crafts. Chain 1, then place one hdc in each formation across. Repeat this for a total of two rows. These initial rows create a firm foundation. This base prepares your project for the decorative plait work.
Creating the Twisted Cable Effect
Do you want to achieve the distinctive raised plait design on your accessory? This effect comes from alternating front post and back post double craft formations. This technique pushes specific sections forward, creating a dimensional look. To start, chain 2. Then, work a front post double craft (fpdc) around the next two formations. Next, work a back post double craft (bpdc) around the following two formations. Repeat this sequence across your row. This creates the appealing texture. Continue this alternating pattern for several rows. The number of rows depends on your desired plait height. This method ensures your piece has a prominent and eye-catching feature.
Finishing and Seaming Your Headband
Finishing your accessory involves joining the ends and securing all loose threads for a polished appearance. Once your piece reaches the desired length, you will bring the two short ends together. Align them carefully to ensure a neat closure. This creates the continuous loop of yourSherpa-Lined Ear Warmersproject. Next, use a tapestry needle to seam the ends. Employ a whipstitch or mattress formation for an invisible join. This method creates a strong, seamless connection. Weave in any remaining loose strands using your tapestry needle. Trim any excess material closely. This final step ensures a clean and professional finish. Your unique accessory is now complete and ready to wear.
This Pattern Is Perfect For: Skill Level & Benefits
This design is perfect for those with intermediate crafting skills looking to expand their abilities. You should be familiar with basic techniques like chaining, slip knots, and half double crafts. The distinctive plait effect introduces more advanced methods, making it an engaging project. Working on this accessory offers several advantages. You will enhance your proficiency in creating textured fabric designs. Furthermore, it provides a portable project for crafting on the go. Completing this item also results in a stylish and functional accessory. It offers warmth during cooler weather. For similar projects that build your skills, consider making acrochet sweater keychainor anelastic-edge reusable bowl cover. You can also explore other creative ideas onPinterest.
Ready to Start Crocheting? Instant Download & Support
Are you ready to begin crafting your own stylish accessory? Our comprehensive guide is available for immediate access. You can instantly acquire the instructions to create your unique item. This ensures you can start your project without delay. We offer continuous assistance throughout your crafting journey. Do you have questions about specific techniques or need clarification? Our dedicated support team is here to help. We are committed to ensuring your success with this rewarding project. Get started today and enjoy the satisfaction of making something beautiful.
Frequently Asked Questions (FAQ)
How do I make a thick, interwoven band for my ears?
You begin by forming a foundation chain. Then, you will work rows of front post and back post treble columns to create the distinctive interwoven texture. This technique mimics the look of knitted cables. You will eventually join the ends to form a circular accessory.
What fiber is best for a woven head covering?
For a substantial, interwoven head covering, consider using a bulky or super bulky weight fiber. These options provide excellent warmth and definition for the woven design. Wool blends or acrylic fibers are popular choices for their softness and insulating properties. For another warm accessory, explore thiswaffle texture pocket shawl.
Is a handmade ear covering suitable for cold weather?
Absolutely, a handmade ear covering is excellent for cold weather. It provides warmth and protection for your ears and forehead. The dense construction of this particular design offers superior insulation against chilly temperatures. Many people find these coverings more comfortable than full hats for certain activities.
How do you craft a spiraled head accessory design?
To craft a spiraled head accessory design, you need to manipulate the posts of your previous rows. This involves skipping columns and working around them, then returning to complete the skipped ones. This crossing action creates the distinctive spiraled effect. You can find many helpful visual guides online for this technique, such as those onGoogle.
What textile formations are utilized in an interwoven ear covering?
An interwoven ear covering typically uses basic textile formations like chain, slip, and half-double. The key to the interwoven appearance lies in the use of front post treble and back post treble formations. These specialized techniques create the raised and recessed textures that define the interwoven pattern. Furthermore, they add depth to the finished item.


