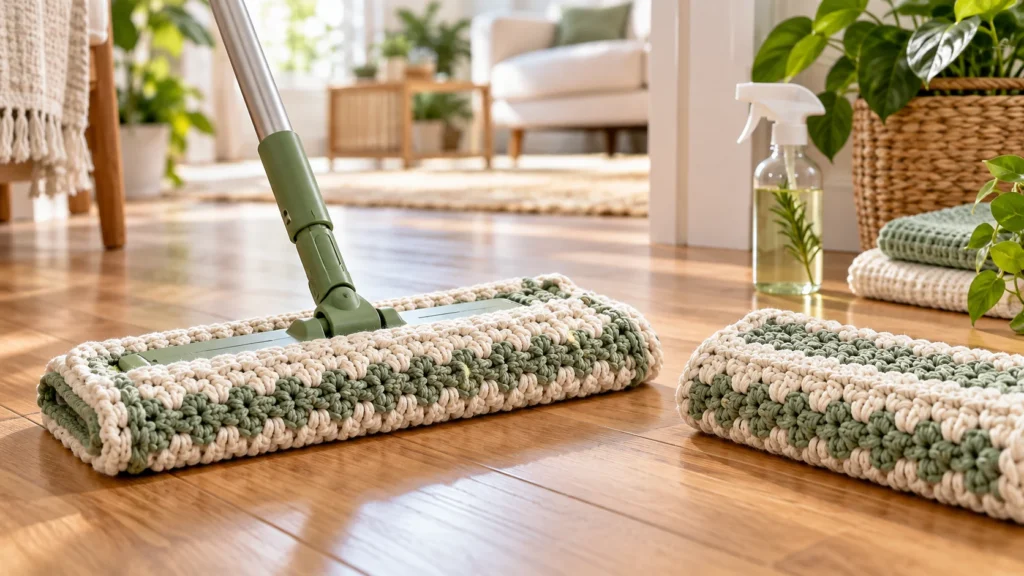
Are you looking for a practical andeco-friendlyalternative to disposable cleaning products? A crochet reusable sweeper pad is an excellent solution. These handmade pads offer a sustainable way to tackle household cleaning tasks. They are designed to fit popular floor sweepers, including Swiffer models.
This guide will show you how to crochet your own cleaning pads. You can create durable and washable mop covers with our easy-to-follow pattern. This project is perfect for both beginner and experienced crocheters. Furthermore, making your own pads reduces waste and saves money. Get ready to transform your cleaning routine with a touch of handmade charm!
Why Choose a Crochet Reusable Sweeper Pad?
Choosing a crochet reusable pad offers numerous benefits. They are an eco-conscious alternative to single-use options. You can significantly reduce household waste by using these washable pads. These pads save you money over time. You won’t need to buy disposable refills constantly. Furthermore, making them yourself is quite rewarding. You can customize them with your favorite color of cotton yarn. Crocheted pads are highly effective for various tasks. The textured bobble stitch creates excellent scrubbing power. This helps to pick up dust and grime efficiently. You can use them dry or slightly wet for different floor types. They are also incredibly durable. A well-made pad using a sturdy hook will withstand many washes. This project is often free to start if you have leftover yarn.
Benefits of Making Your Own Sweeper Pad
Making your own floor dusters offers several advantages. You gain complete control over the materials used. This ensures your item is free from harsh chemicals. Crafting these items allows for customization. You can select specific yarn types and colors. This personalizes your household accessories. Furthermore, it provides a satisfying creative outlet. You also contribute to environmental preservation. Reusable items reduce landfill waste. This lessens your ecological footprint. Additionally, it saves money on store-bought alternatives. These crafted dusters are highly effective. Their textured surfaces capture dust and debris efficiently. They are also simple to maintain. Just toss them in the laundry for a refresh.
Environmental and Cost Savings
How do reusable floor cloths benefit the environment and your wallet? They significantly reduce waste and lower your household expenses. Opting for acrochet reusable sweeper padmeans fewer disposable items in landfills. This helps protect our planet from unnecessary pollution. Furthermore, these textile accessories offer considerable cost savings. You eliminate the recurring expense of buying single-use refills. This financial benefit adds up significantly over time. Crafting your own also means you can utilize leftover cotton yarn. These eco-friendly alternatives are simple to maintain. Just toss them in your washing machine after use. They emerge fresh and ready for your next chore. This makes them a smart choice for any home.
Materials You’ll Need for Your Crochet Sweeper Pad
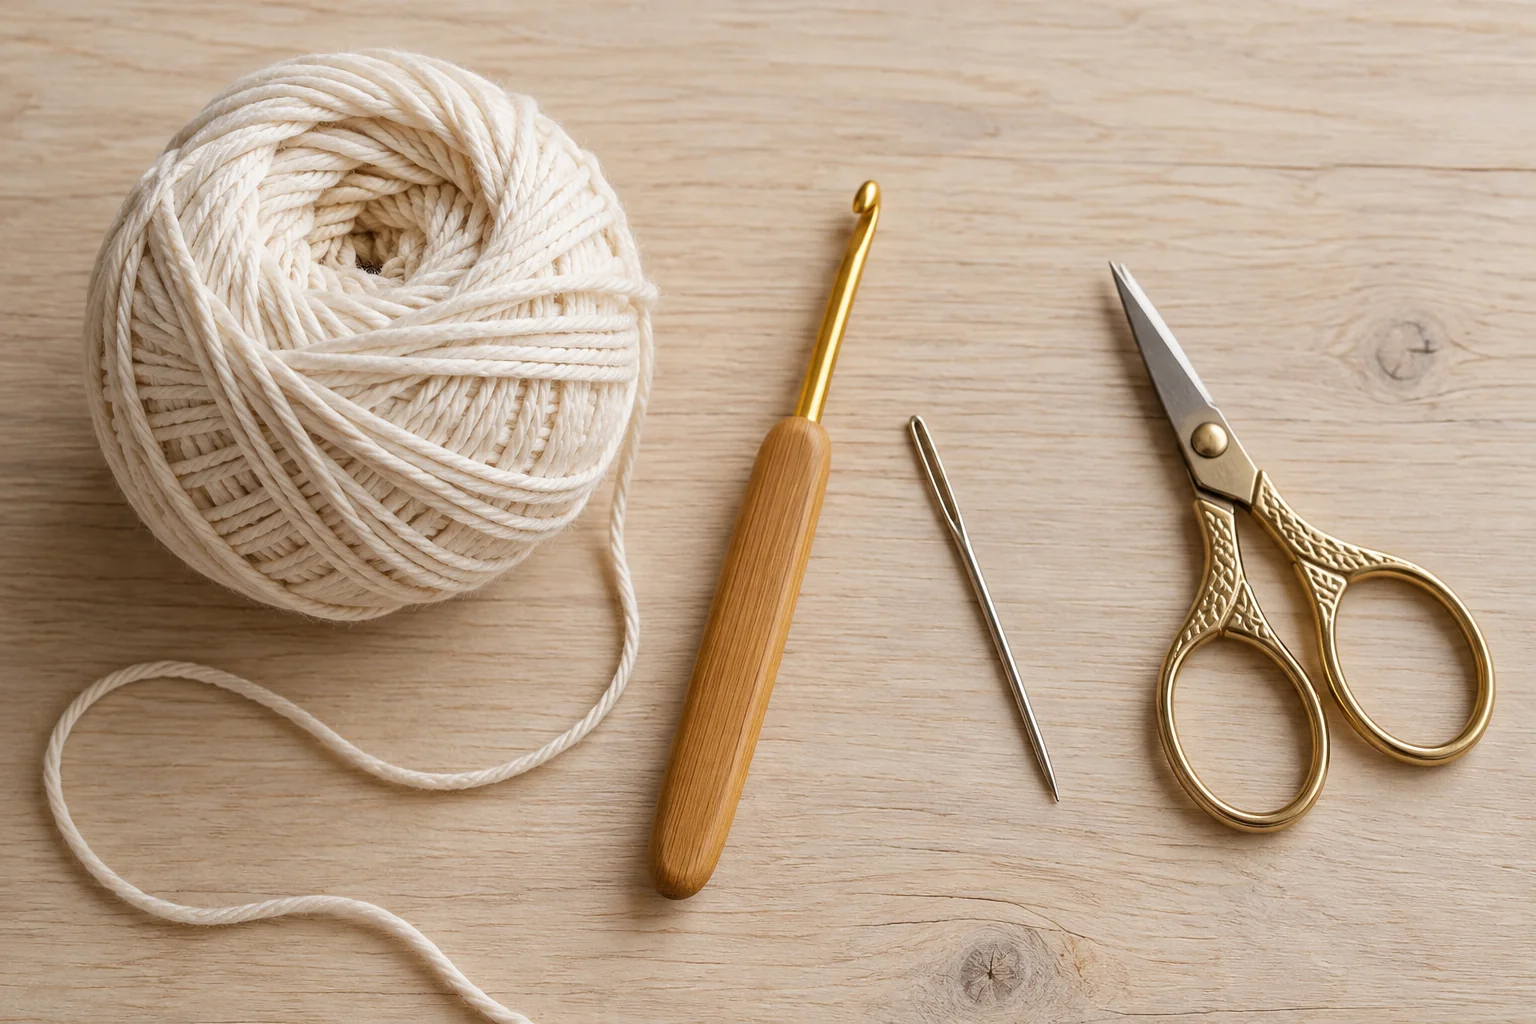
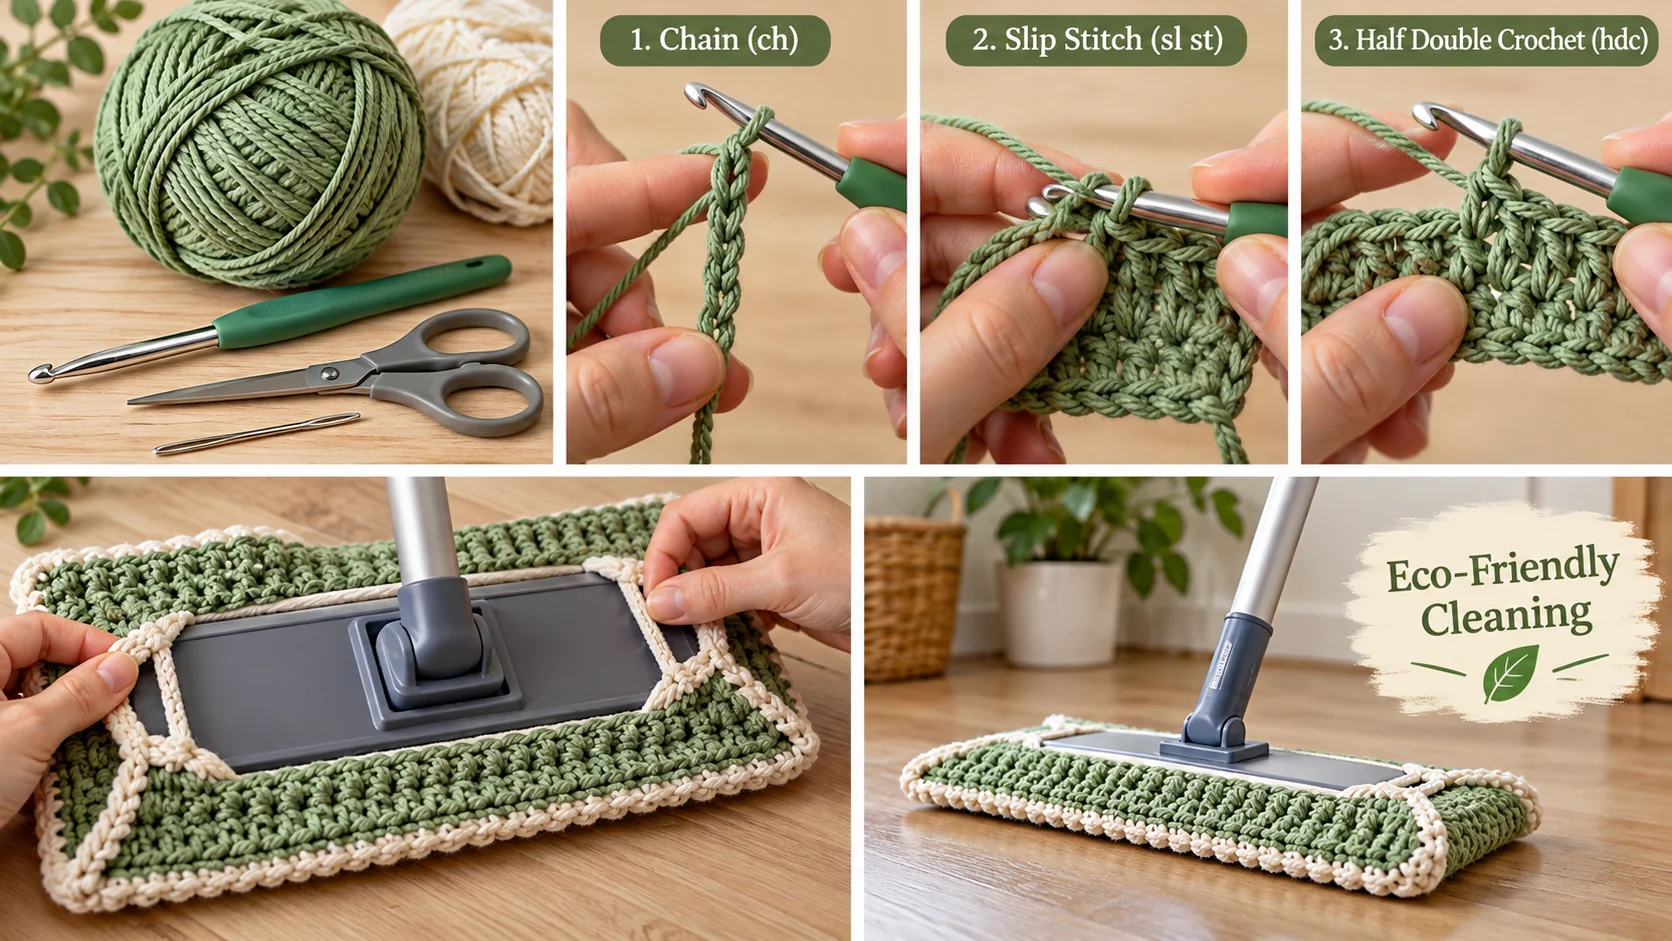
What materials will you need for your crocheted cleaning accessory? Gathering your supplies is the first step to creating your own reusable mop cover. You will primarily need some specific tools and fibers. These items are readily available at craft stores. First, select a suitable fiber. Cotton is an excellent choice due to its absorbency and durability. Look for medium-weight cotton thread. You will also need a crochet hook. A size H/8 (5.0 mm) hook works well for this project. Furthermore, have a pair of scissors ready for cutting thread ends. A tapestry needle is also useful for weaving in loose ends. Optionally, you might want stitch markers to keep track of your progress. These simple items will help you craft a sturdy and effective reusable item.
Essential Tools and Notions
To begin your project, you will need a few essential tools. A crochet hook is central to the craft. An H/8 (5.0 mm) hook is typically ideal for this kind of project. This size helps create a dense, scrub-friendly fabric. Next, acquire a good pair of sharp scissors. These are necessary for trimming threads neatly. A tapestry needle, also known as a darning needle, is crucial for finishing. It helps weave in any stray ends, giving your piece a polished look. Consider using stitch markers. They help you keep track of your rounds or rows. This is especially helpful if you are new to crocheting. These notions ensure your project remains organized.
Choosing the Right Fiber
Selecting the correct fiber is vital for your crocheted item’s performance. Cotton is highly recommended for its absorbent qualities. It effectively soaks up spills and traps grime. Furthermore, cotton is durable and withstands frequent laundering. Look for 100% cotton in a worsted weight. This weight provides a good balance of thickness and flexibility. Avoid synthetic fibers like acrylic, as they are less absorbent. Organic cotton is an even better choice for an environmentally friendly option. The fiber’s color is also a consideration. Lighter colors may show stains more easily. Darker colors can camouflage dirt better between washes. Choose a color that suits your personal preference.
Best Yarn Choices for Durability and Absorbency
What are the best fiber options for creating a durable and absorbent crocheted reusable item? Opting for specific fiber types ensures your crocheted piece effectively tackles messes. These choices also guarantee longevity through repeated uses. Mercerized fiber is an excellent selection. This treatment strengthens the material and increases its luster. It also enhances its ability to soak up liquids. You will find it holds up well to frequent laundering. Alternatively, consider using bamboo blends. Bamboo is naturally very absorbent and soft. It provides a gentle yet effective scrubbing surface. Look for blends that combine bamboo with another strong fiber for added resilience. For ultimate scrubbing power, try textured fibers. Chenille or scrubby fibers create more friction. This helps lift stubborn dirt and debris. These materials make your crocheted accessory highly effective for household tasks.
Hook Sizes and Other Essential Tools
What tools are essential for crocheting a reusable item? Beyond the fiber itself, you will need several implements to complete your project. These tools help ensure your finished piece is both functional and well-made. Gathering them beforehand streamlines your crafting process. The right-sized implement is crucial. For this kind of project, a medium-sized implement, around 5.0 mm (H/8 US), works best. This size creates a tight fabric, which is ideal for durability. Furthermore, a smaller implement might create a fabric too stiff. You will also need sharp shears for trimming any loose ends. A blunt pair can fray your fibers. A large-eyed needle is also necessary for weaving in those ends neatly. This gives your finished article a polished appearance. Consider using small clips or markers. They help you keep track of your progress. This prevents mistakes and saves time. A measuring tape can also be useful for checking dimensions.
| Tool | Purpose/Size |
|---|---|
| Crochet Implement | H/8 (5.0 mm) for dense fabric |
| Shears | Trimming fiber ends |
| Tapestry Needle | Weaving in loose ends |
| Stitch Markers | Tracking rows or rounds |
| Measuring Tape | Checking dimensions |
Crochet Reusable Sweeper Pad Pattern: Step-by-Step Guide
Here is a step-by-step guide to craft your own fabric attachment for a mop tool.
Step 1: Create a Slip Knot and Chain.Begin by making a slip knot. Then, chain 26 stitches. This forms the foundation of your accessory.
Step 2: First Row of Half Double Crochet.Work a half double crochet into the third chain from your implement. Continue across the row. You should have 24 stitches.
Step 3: Subsequent Rows.Chain two and turn your work. Now, half double crochet into each stitch across the row. Repeat this process for 24 rows. This builds the main body of the item.
Step 4: Form the Loops.Chain 15 stitches at the end of row 24. Slip stitch into the first stitch of that same row. This creates one loop for attaching to your device.
Step 5: Second Loop.Fasten off your fiber. Rejoin the fiber on the opposite side of your fabric piece. Chain 15 stitches again. Slip stitch into the corner stitch to form the second loop.
Step 6: Finishing Touches.Weave in all loose ends securely with a tapestry needle. Trim any excess fiber. Your new mop cover is now ready for use.
Understanding Basic Crochet Stitches
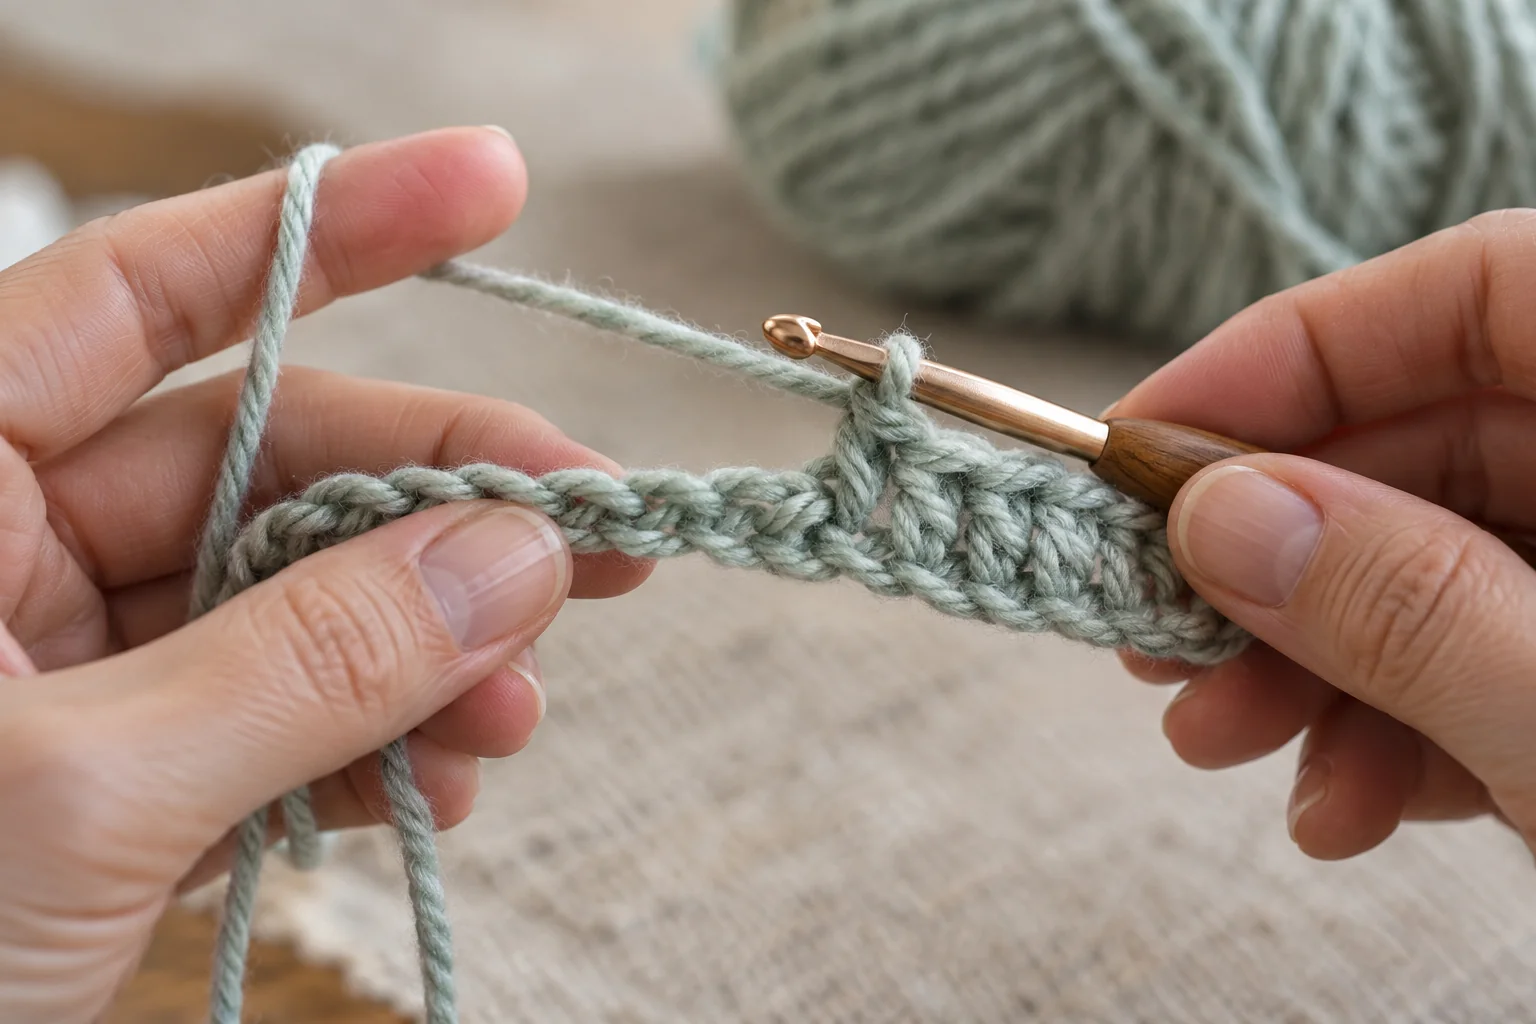
What are the fundamental techniques for crocheting? Mastering a few core techniques is essential for creating yourcrocheted items. These foundational methods form the building blocks for more complex designs. Understanding them ensures your projects are well-structured and attractive. You will primarily use chains (ch), slip connections (sl st), and half double crochets (hdc). The chain creates the starting foundation. A slip connection joins pieces or finishes rounds. The half double crochet offers a good balance of density and flexibility. Practice these techniques until they feel comfortable. Consistent tension is key for an even fabric. Furthermore, learning these basic manipulations will allow you to tackle many different patterns. You can even create acrochet phone holderwith these skills.
Detailed Instructions for Wet and Dry Mop Covers
Step 1: Select Your Fiber.Choose an absorbent fiber for wet applications. Microfiber or a thick acrylic works well. For dry applications, a thinner acrylic or blend will suffice.
Step 2: Adjust Initial Chain.Modify the starting chain to fit your specific mop tool. Measure the head of your device. Your initial chain should be slightly wider than this measurement.
Step 3: Modify Length.Add or remove rows from the main body. This ensures full coverage of your mop head. A longer cover provides more surface area for gathering debris.
Step 4: Customize Loops.Adjust the length of the attachment loops as needed. They should secure the cover snugly to your mop tool. You can also add more loops for extra stability.
Step 5: Add Texture for Wet Use.For enhanced wet mopping, consider adding textured elements. Incorporate front post or back post double connections. This creates ridges that help trap grime.
Step 6: Finish and Maintain.Secure all loose ends. Launder your fabric attachments regularly. This maintains their effectiveness for both wet and dry tasks.
Tips for Customizing Your Sweeper Pad
You can personalize your mop cover in many ways. This allows you to match it to your specific needs and preferences. Think about different fibers, colors, and embellishments. Consider varying the fiber type for different tasks. Use a textured acrylic for more abrasive action. Alternatively, a smooth blend works well for gentle polishing. Explore different color combinations too. This adds a fun touch to your household items. You can even add a small hanging loop for storage. For visual inspiration, watch thisvideo tutorial on crafting textured pieces.
How to Use Your Crochet Reusable Sweeper Pad Effectively
How do you effectively utilize your crafted mop cover? Maximizing its performance involves proper attachment and maintenance. This ensures efficient debris collection and longevity.
Step 1: Secure the Attachment.Position the fabric cover over your mop device. Ensure the loops align with the attachment points. Firmly secure the cover to prevent slipping during use.
Step 2: Prepare for Task.For damp tasks, lightly moisten the fabric. Avoid oversaturating it. For dry tasks, ensure the fabric is completely dry. This enhances its ability to attract particles.
Step 3: Begin Application.Glide your mop device across surfaces. Use consistent, overlapping strokes. This ensures thorough coverage and particle pick-up.
Step 4: Monitor Saturation.Observe the fabric’s condition during longer tasks. If it becomes heavily soiled or dry, replace it. This maintains optimal performance.
Step 5: Detach and Refresh.After each application, carefully remove the cover. Shake off loose debris outdoors. This prepares it for subsequent laundering.
Step 6: Proper Laundering.Machine launder the fabric attachments regularly. Use a gentle cycle and mild detergent. Air dry or tumble dry on low heat. This preserves the fiber integrity.
Caring for Your Crochet Sweeper Pads
How do you properly care for your handcrafted floor tool attachments? Proper care extends the life of your fabric tools. It also maintains their effectiveness for various tasks. Always remove loose debris before laundering. Shake them out thoroughly outdoors. This prevents particles from clogging your washing machine. For general upkeep, machine launder the fabric tools. Use cold water and a gentle cycle. A mild detergent is ideal for preserving fiber quality. Avoid using bleach or harsh chemicals. These can damage the fibers. Tumble dry on a low setting or air dry them flat. This helps maintain their shape. Proper maintenance ensures your cloth attachments remain effective.
Washing and Drying Instructions
How should you properly launder and dry your fabric attachments? Following specific steps ensures their longevity and continued effectiveness.
Step 1: Prepare for Laundering.First, remove any large debris from the fabric attachment. Shake it vigorously outdoors or over a trash can. This prevents dirt from entering your washing machine.
Step 2: Machine Cycle Selection.Place the fabric tool in your washing machine. Select a gentle cycle with cold water. Cold water helps prevent shrinkage and color fading.
Step 3: Detergent Application.Add a small amount of mild liquid detergent. Avoid harsh chemicals or bleach. These can degrade the fabric fibers over time.
Step 4: Drying Method.For best results, air dry your item flat. Alternatively, use a tumble dryer on a low heat setting. High heat can damage the fibers and alter its shape.
Step 5: Storage.Once completely dry, store the fabric tools in a clean, dry place. This keeps them ready for your next household task. Proper care extends the life of your fabric accessories.
Extending the Life of Your Reusable Pads
What steps can you take to make your fabric attachments last longer? Proper care and maintenance significantly extend the lifespan of these useful items. Rotate several fabric tools to reduce wear and tear on any single one. This practice helps distribute the workload evenly. Consider using different items for various tasks. Designate specific ones for dry applications and others for damp tasks. This prevents cross-contamination and preserves fiber integrity. Store your fabric tools properly when not in use. Keep them in a dry, clean area away from direct sunlight. This prevents mildew and maintains their freshness.
FAQ About Crochet Reusable Sweeper Pads
How do you make a washable floor tool attachment?
You can craft a washable floor tool attachment by following a simple pattern. Start with a foundation chain, then work in rows using basic techniques like single or double loops. Shape it to fit your specific device. Finally, add an elastic band or ties to secure it firmly.
What fiber is ideal for knitted device accessories?
For knitted device accessories, absorbent natural fibers work best. Materials like bamboo or microfiber blends are excellent choices. They effectively pick up debris and liquid. These fibers also withstand frequent laundering without losing their efficacy.
Do knitted device attachments work well?
Yes, knitted device attachments are very effective. Their textured surface helps trap dirt and pet hair efficiently. They offer a sustainable alternative to disposable options. Many users find them comparable to, or even better than, commercial disposables for everyday tidiness.
How do you maintain knitted device accessories?
To maintain knitted device accessories, simply toss them into your laundry machine with similar colors. Use a mild detergent and cold or warm water. Avoid fabric softeners, as these can reduce absorbency. Air dry them or tumble dry on a low setting. For a visual guide, you can watch this helpfulvideo tutorial on maintaining knitted items.
Is a knitted device attachment suitable for all home surfaces?
A knitted device attachment is suitable for most home surfaces. This includes hardwood, tile, and laminate. Test a small, inconspicuous area first, especially on delicate finishes. Generally, the soft fibers are gentle and safe for various materials.