
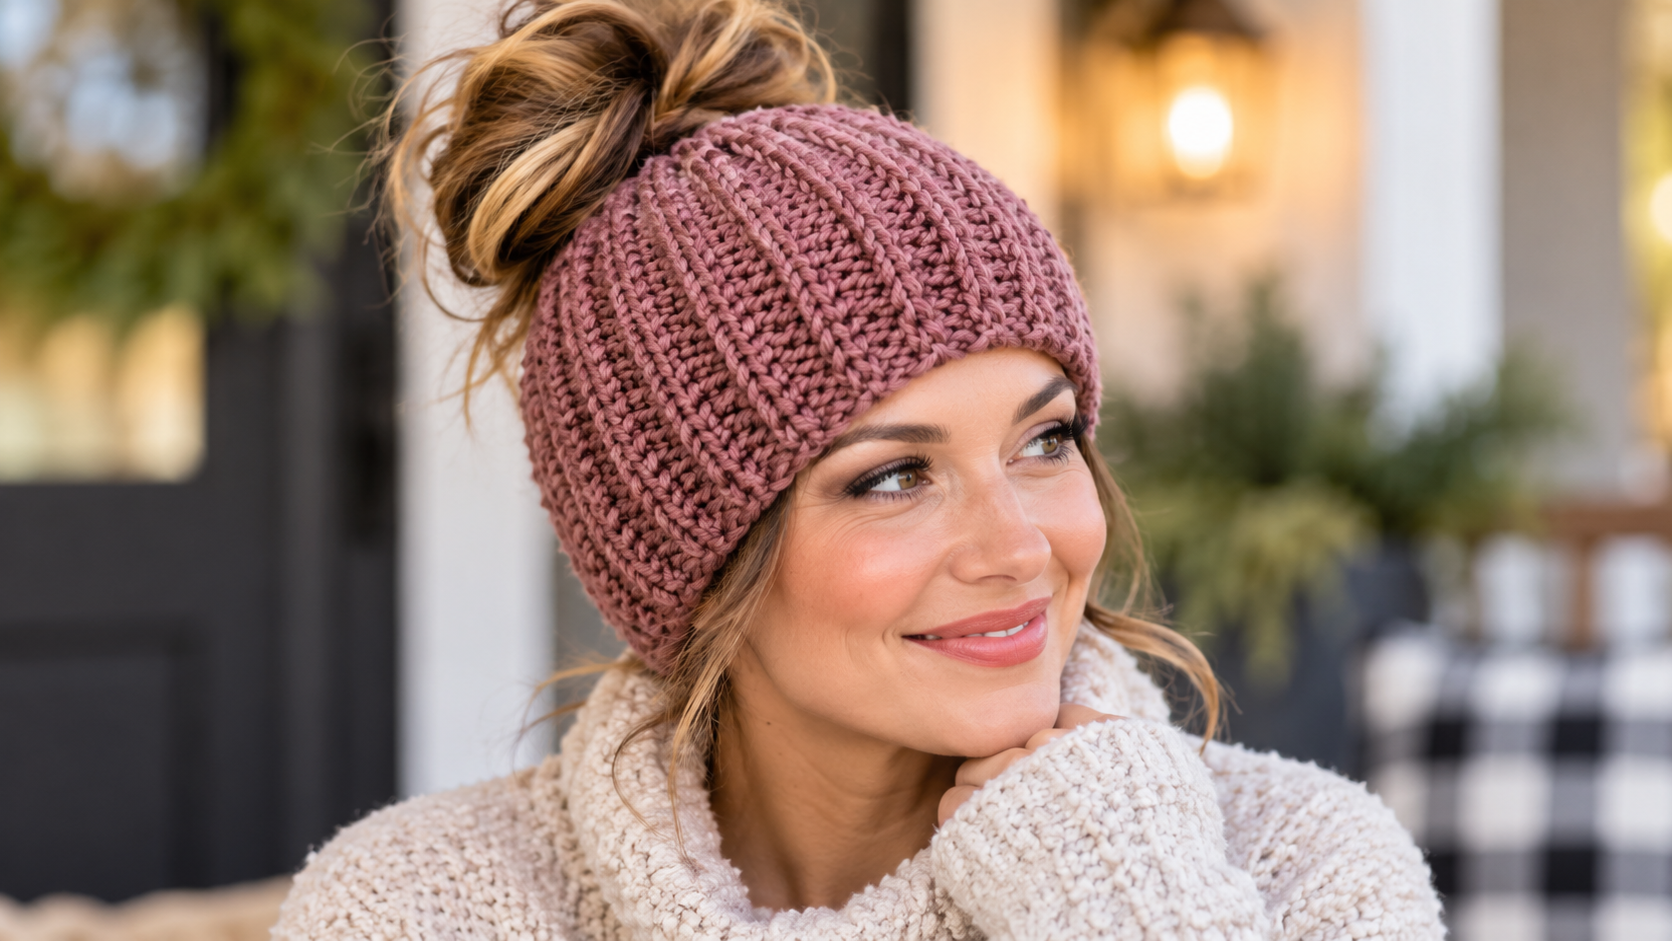
Do you love practical accessories that combine style with comfort? A crochet ribbed messy bun ponytail beanie is a fantastic project for you. This unique hat features an opening at the crown. This allows you to pull your ponytail or messy bun through. It keeps your hair tidy while keeping your head warm. This guide provides acrochet patternthat is both free andeasyto follow. You can create a stylish messy bun hat in various sizes. The ribbed texture adds a classic look and extra warmth to your new ponytail hat. We will walk you through each step. You will learn how to select the right yarn and master the basic stitches. Are you ready to create a versatile beanie? This pattern is perfect for beginners and experienced crocheters alike. You will love how quickly this hat works up. Furthermore, it makes a thoughtful handmade gift. Get your hook and yarn ready. Let’s start crocheting your very own ribbed messy bun ponytail beanie today!
Why a Crochet Ribbed Messy Bun Ponytail Beanie is a Must-Have
ACrochet Ribbed Messy Bun Ponytail Beanieis a must-have because it offers unparalleled comfort and style, especially during colder months. This innovative design solves a common winter dilemma. You can keep your head warm without sacrificing your hairstyle. The convenient hole at the crown allows ponytails and messy buns to stay neat. This cozy accessory is a perfect addition to any winter collection. It suits both teens and adult wearers. Many patterns are beginner-friendly, making it simple for anyone to create. The ribbed texture provides extra warmth and a classic look. You can use chunky or worsted weight yarn for a substantial feel. The flexible brim ensures a snug and comfortable fit for various head sizes.
Understanding the ‘Ribbed’ Effect in Crochet
The ‘ribbed’ effect in crochet is achieved by working stitches in a specific way that creates vertical ridges, mimicking knit fabric. This distinctive look adds elasticity and a lovely visual appeal to your projects. It is a popular technique for various items, including hats, cuffs, and garments. This technique primarily uses front post and back post stitches. Alternatively, you can work into the back loop only of a stitch. Both methods produce parallel lines, giving the fabric a pleasing stretch. This makes theCrochet Ribbed Messy Bun Ponytail Beaniecomfortable and adaptable. The process is surprisingly beginner friendly. You can quickly master it with a little practice.
Choosing the Best Yarn for Your Messy Bun Beanie
Choosing the best yarn for your messy bun beanie involves considering several factors to ensure comfort and durability. The ideal fiber offers a good balance of softness and structure. Acrylic is a popular choice due to its affordability and wide color range. It is also easy to care for. Furthermore, wool blends provide excellent insulation and a luxurious feel. However, some individuals find wool itchy. Cotton is another option, especially for milder climates, offering breathability. To achieve a substantial fabric, opt for a worsted weight or a slightly heavier yarn. This weight works up quickly. It also creates a cozy accessory. Consider the drape and stretch of the material. A yarn with good elasticity will create a snug fit for yourponytail hat. Always check the yarn label for care instructions. This ensures your handmade item lasts for years.
Free Crochet Ribbed Messy Bun Ponytail Beanie Patterns
You can find numerous free patterns for aCrochet Ribbed Messy Bun Ponytail Beanieto suit various skill levels and styles. These guides offer step-by-step instructions. They help you create your own unique accessory. Many designers share their creations online. Consider starting with a simple pattern if you are new to crochet. These often use basic techniques. Alternatively, more intricate designs incorporate interesting stitch combinations. Look for patterns that specify the hook size and material needed. This ensures you achieve the correct gauge. You can even find patterns for different sizes. This allows you to craft beanies for children or adults. Explore options that feature various brim styles. A wide array of design possibilities awaits you.
Classic Solid Color Designs
Do classic solid color versions of this ponytail accessory appeal to you? These timeless creations offer versatility and effortless style. They are perfect for everyday wear. A single hue highlights the beautiful structure of the fabric. Consider deep navy, charcoal gray, or forest green for sophisticated options. Alternatively, vibrant shades like crimson or royal blue make a bold statement. Pastel tones such as blush pink or sky blue offer a softer aesthetic. These simpler looks are easy to pair with any outfit. They provide a refined touch to your ensemble. You can even personalize them with a small embellishment.
Vibrant Multi-Colored Options
Do you want to explore more dynamic and playful styles for your hair accessory? Multi-colored choices offer a fantastic way to add flair and personality. These creations combine several hues, resulting in eye-catching patterns. You can use variegated fibers that change color naturally. Alternatively, you can switch colors intentionally for striped or color-blocked effects. Consider bright rainbow shades for a cheerful look. Earthy tones, however, provide a more subdued yet interesting blend. A multi-coloredcrochet sweater keychaincan also complement your accessory. This approach allows for endless creative possibilities. It makes your accessory truly unique.
Step-by-Step Instructions: How to Crochet a Ribbed Messy Bun Beanie
You can easily craft aponytail accessoryby following a few clear actions. This guide breaks down the crafting process. It helps you create your own stylish item. Prepare your chosen fiber and appropriate tools.
Step 1: Create the Foundation Chain.Begin by making a slip knot. Then, chain a length that matches the desired height of your finished item. This forms the starting edge.
Step 2: Establish the Body.Work in rows, typically using half double crochet back loop only (hdc blo). This technique creates the characteristic vertical lines of the fabric. Turn your work at the end of each row.
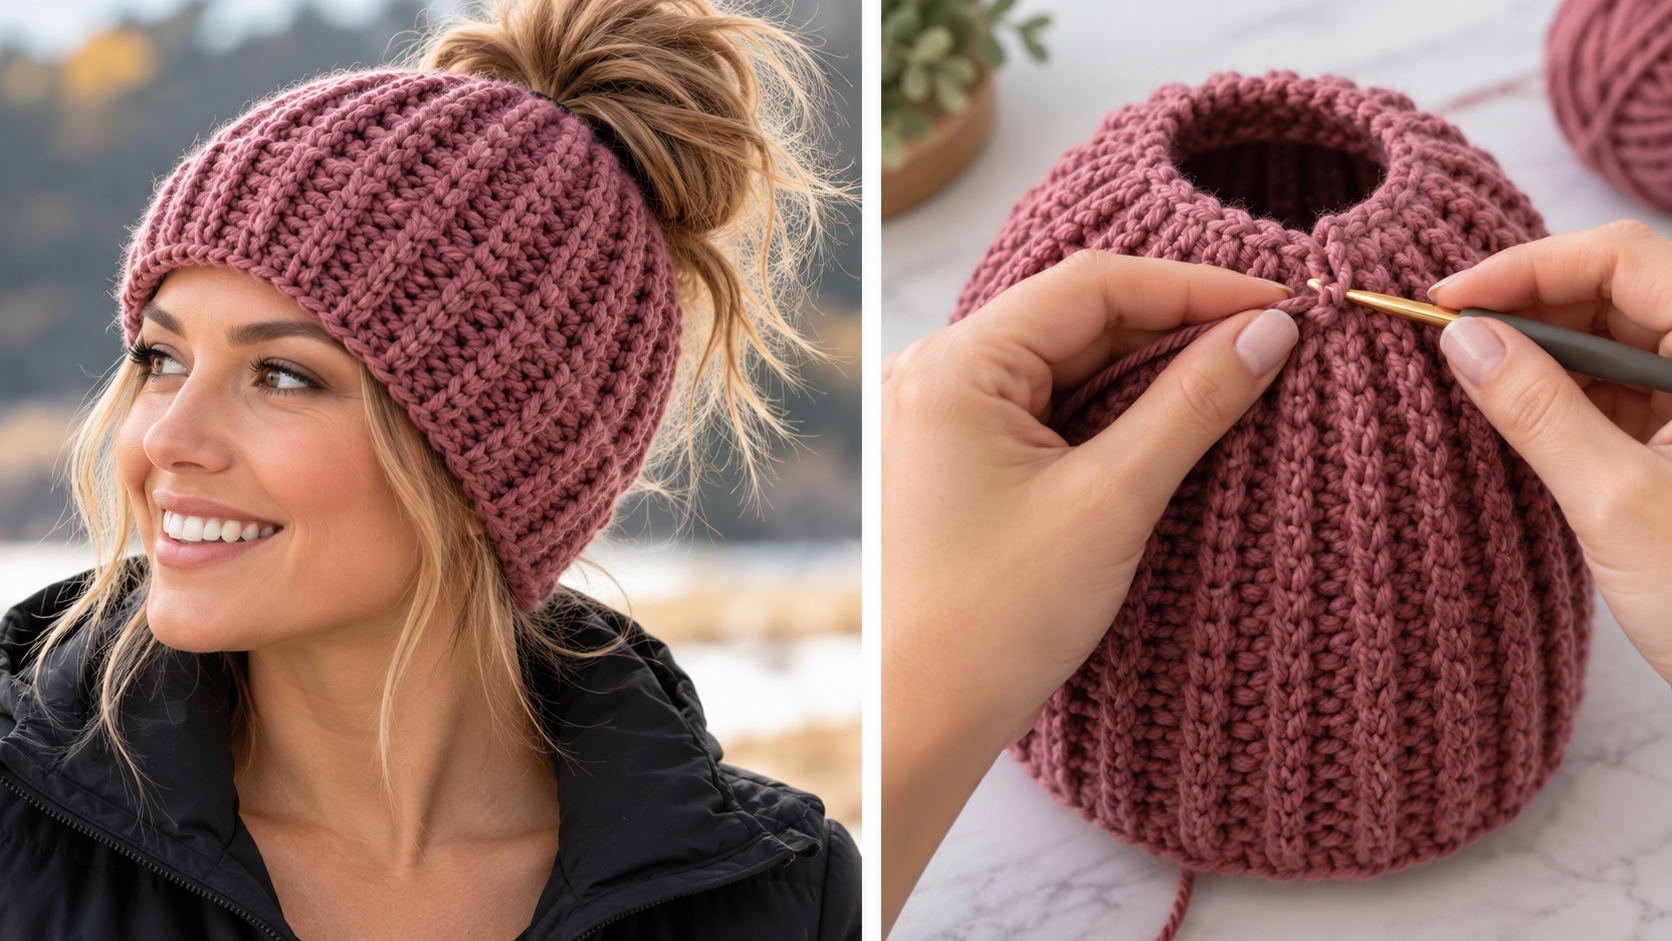
Step 3: Form the Opening.After achieving sufficient length, join the ends of your fabric with a slip seam. Leave a gap at the top. This opening will accommodate a ponytail or messy bun.
Step 4: Refine the Edges.Work single crochet (sc) around the top and bottom openings. This creates neat and finished edges. You can add a few extra rounds to the bottom for a rolled edge if desired.
Step 5: Secure and Finish.Fasten off your fiber. Weave in any loose ends using a tapestry needle. Your handmade item is now complete.
Starting with the Ribbed Band
You begin crafting your accessory by establishing the foundational band. This initial section forms the lower edge of your item. It ensures a snug and comfortable fit around the wearer’s forehead. To start, create a slip knot on your crafting tool. Then, make a chain of individual loops. The number of loops determines the width of this lower edge. A longer chain creates a wider band. Conversely, a shorter chain results in a narrower one. This choice influences the overall appearance and fit of your finished piece.
Forming the Beanie Body and Ponytail Opening
You form the main section of the item and its opening by working in rows and then joining the fabric. Continue crafting in rows, typically using half double crochet back loop only (hdc blo). This method creates the characteristic vertical lines of the fabric. Turn your work at the end of each row. Once your fabric reaches sufficient length, join the ends with a slip seam. Leave a gap at the top. This opening accommodates a ponytail or messy bun. Furthermore, you can refine the edges by working single crochet (sc) around the top and bottom openings. This creates a neat finish.
Tips for Customizing Your Crochet Ribbed Messy Bun Beanie
You can personalize your crochet messy bun accessory in various ways to make it truly unique. Consider altering the fiber type. For instance, a cotton blend offers a lighter feel, perfect for warmer climates. Alternatively, a blend with alpaca provides exceptional softness and insulation for colder weather. Experiment with different hues and color combinations. You could use a single solid color for a classic look or incorporate stripes for a playful touch. Furthermore, consider adding embellishments. Small crocheted flowers, buttons, or even acrochet mini teddy bear keychaincan add personal flair. Adjusting the height of the accessory also changes its style. A shorter item sits higher, while a longer one offers a slouchier fit.
Ensuring a Perfect Fit for Thick Hair
Achieving a snug fit for abundant tresses requires specific adjustments to your crafting process. You must focus on creating ample room within the accessory. This prevents discomfort and ensures the item sits correctly. Start by increasing the initial chain length for the main body. This adds circumference, allowing more space for your locks. Furthermore, consider making the opening at the crown larger. This wider aperture accommodates a fuller ponytail or bun without straining the fabric. You might add extra rows to the body as well. This provides additional depth, which is crucial for those with voluminous styles.
Adding Unique Embellishments
You can add unique embellishments to your crochet messy bun accessory to truly make it your own. Consider attaching small decorative elements. These additions transform a basic accessory into a personalized fashion statement. Alternatively, you might integrate various decorative items. Buttons, beads, or even acrochet sweater keychaincan elevate its appearance. Think about embroidering motifs directly onto the fabric. This technique allows for intricate patterns and custom imagery. Furthermore, you could create contrasting bands of color near the opening or along the bottom edge. This provides a subtle yet effective visual interest.
Frequently Asked Questions
How do you crochet a messy bun cap?
To craft a messy bun cap, you typically start with a foundation chain. You then work in rounds, creating a circular base. The opening for the ponytail is often created by leaving a gap at the crown. You can achieve this with specific shaping techniques or by using an elastic band. Furthermore, you will continue building the sides of the cap, often using back loop only techniques for a flexible finish.
What is the best fiber for a messy bun cap?
The ideal fiber for a messy bun cap offers both comfort and durability. Acrylic is a popular choice due to its affordability and ease of care. Alternatively, merino wool provides excellent insulation and softness. Cotton blends are also suitable for lighter options. Consider the season and desired feel when selecting your material. A medium-weight fiber is generally recommended for a good balance.
How do you make a ridged crochet ponytail accessory?
To create a ridged crochet ponytail accessory, you will focus on specific techniques that produce raised lines. Working into the back loop only of your previous row is a common method. This creates a distinct horizontal ridge. Alternatively, front post and back post double crochet can create vertical ridges, offering a different aesthetic. Consistent tension is key for a uniform appearance.
Is a messy bun cap good for thick tresses?
Yes, a messy bun cap is excellent for thick tresses. Its open top allows your bun or ponytail to pass through easily. This prevents flattening or discomfort. The adaptable construction accommodates various volumes without feeling too tight. Furthermore, many patterns can be adjusted to ensure a perfect fit for abundant locks.
Can I sell caps made from free patterns?
Generally, you can sell items made from free patterns. However, always check the specific pattern’s terms of use. Some designers include clauses that prohibit commercial sales. Others may request credit for their pattern. If no restrictions are stated, it is usually acceptable to sell your finished creations. Always respect the intellectual property of the original creator.


