
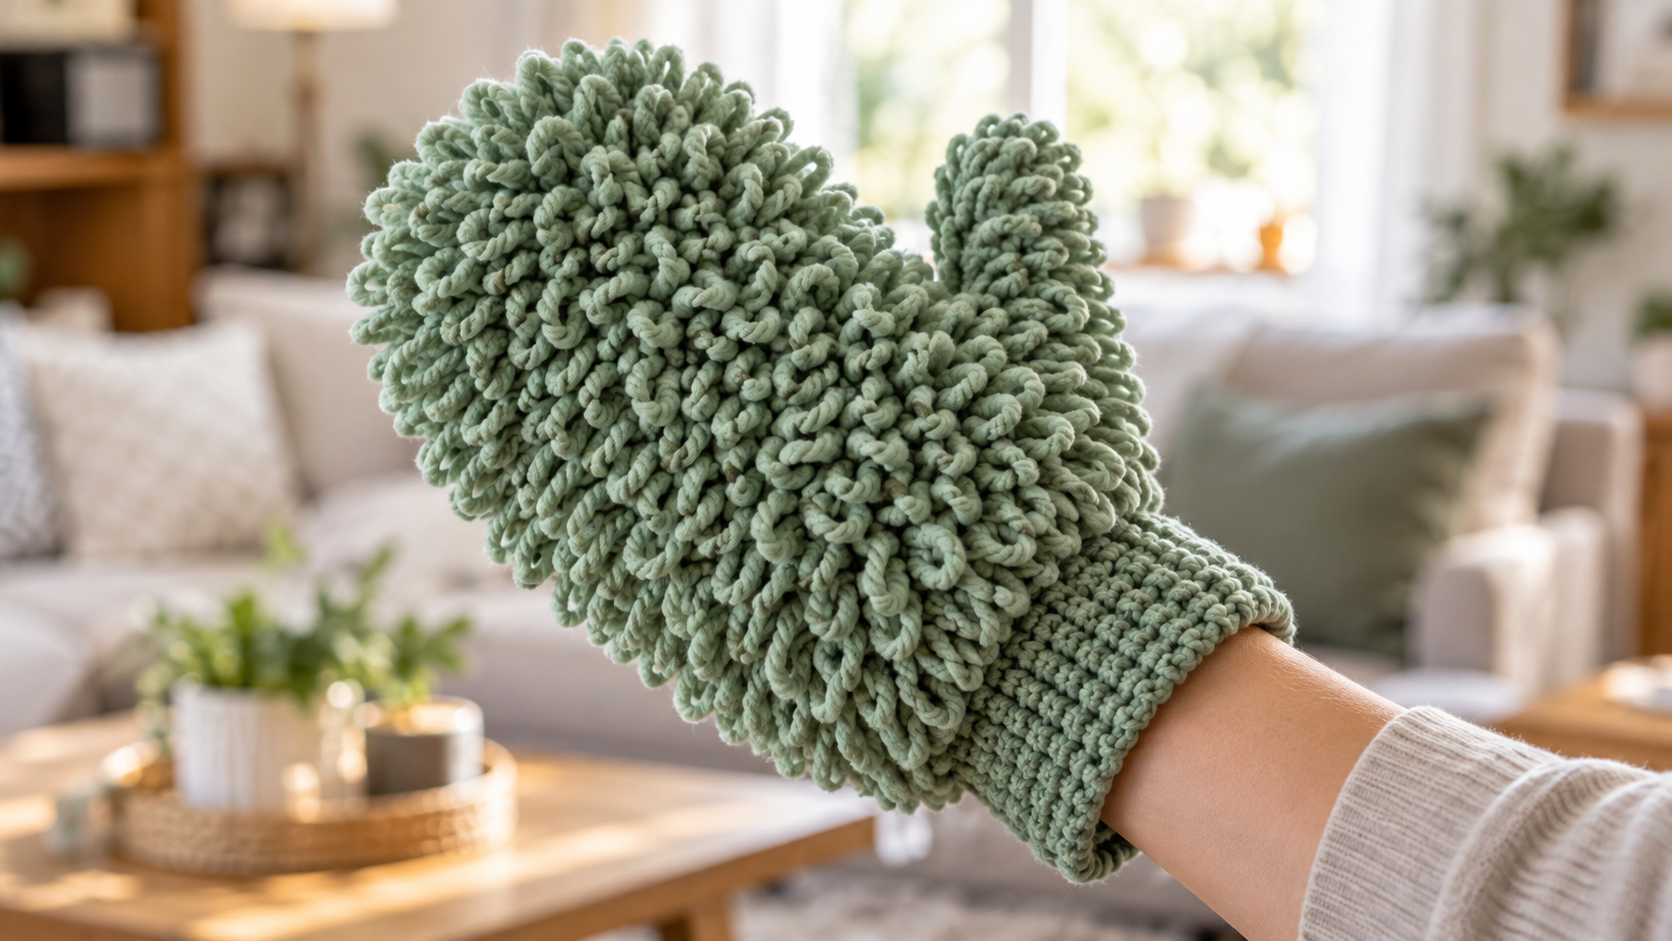
Are you looking for an eco-friendly way to tackle household chores? Acrochet reusable sweeper padis a great alternative to disposable options. Consider crafting your owndusting mitt. This project offers a sustainable solution for keeping your home sparkling clean. Furthermore, it allows you to personalize your cleaning tools.
This article provides a comprehensive guide to creating aCrochet Reusable Textured Loop Stitch Dusting Mitt. This unique dusting mitt design utilizes the loop stitch. This stitch creates a wonderfully textured surface. This texture is ideal for trapping dust and grime effectively. You will find a detailed, free pattern to help you along the way.
The loop stitch is a fantastic choice for this project. It forms small, soft loops that grab onto dust particles with ease. This makes your cleaning routine more efficient. The textured surface ensures a thorough clean on various surfaces. You can use this mitt on furniture, electronics, and more. This crochet pattern is suitable for crocheters of all skill levels.
Using a reusable mitt reduces waste. It also saves you money on disposable cleaning products. The yarn you choose will impact the mitt’s absorbency and durability. Opt for a durable yarn that can withstand repeated washing. This free pattern makes it simple to create a practical and beautiful cleaning accessory. Get ready to enjoy a cleaner home with your handmade dusting mitt!
Why Choose a Crochet Reusable Dusting Mitt?
Why should you choose a crochet mitt for your chores? Opting for a handcrafted mitt offers numerous benefits over disposable alternatives. These mitts are highly effective at picking up particles. Furthermore, they significantly reduce waste. Handmade mitts are also incredibly economical. You save money by not purchasing single-use wipes. Many yarns are completelywashable, allowing for countless uses. This makes them a smart investment for any diligent individual. Creating your own mitt is an enjoyable project. The process involves simple stitches likehdc,sc, andsl st. This makes it aneasycraft for most skill levels. The design often includes helpfulpattern notes. These guide you through eachrow. You can often find anad-freeversion of the instructions. This ensures an uninterrupted crafting experience. You only need a suitablehookand yarn to begin.
The Magic of the Textured Loop Stitch
What makes the unique stitch so magical for this project? This particular technique forms delightful little projections. These projections are perfect for grabbing tiny particles. They act like many tiny fingers, holding onto grime. Furthermore, this technique provides a soft, yet effective, surface. It ensures a thorough wipe without scratching delicate items. This makes it ideal for various surfaces around your living space. Consider using it on electronics or shelves. Crafting items with this method is also satisfying. The fabric it creates has a lovely feel. It is also quite durable. This means your finished item will last through many uses. You will appreciate its longevity.
Gathering Your Supplies: What You’ll Need
To begin your crafting adventure, you will need a few essential items. These supplies will help you create a functional and attractive accessory. Ensuring you have everything prepared beforehand makes the process smoother. This preparation also helps you avoid interruptions during your project. Here is a comprehensive list of what you will need:
| Item | Quantity/Notes |
|---|---|
| Worsted Weight Cotton Yarn | Approximately 100-120 yards. Choose a durable fiber that can withstand repeated use. |
| Crochet Hook | Size H (5.0 mm) is typically recommended. However, check your gauge for best results. |
| Yarn Needle | For weaving in ends and finishing your project neatly. |
| Scissors | To cut yarn. |
| Stitch Marker | Helpful for marking the beginning of rounds, especially for beginners. |
Selecting the right materials is crucial for the success of your item. High-quality yarn will ensure your finished piece is both effective and long-lasting. Consider checking out other functional projects, like acrochet fruit hammock, after completing this one.
Step-by-Step Pattern for Your Dusting Mitt
Do you want to create your own effective cleaning accessory? Follow these detailed instructions to craft a practical and durable item. This guide breaks down each stage, making it simple to follow. You will soon have a handmade item ready for use.
Step 1: Create the Foundation Chain.Begin by making a slip knot. Then, chain 26 stitches. Ensure your initial chain is not too tight.
Step 2: Establish the Base Row.Work one single crochet (sc) into the second chain from your implement. Continue with one sc in each subsequent chain across. You should have 25 single crochets.
Step 3: Begin the Distinctive Stitch.Chain one and turn your work. In the first sc, make a single crochet. For the next stitch, insert your tool, wrap the fiber around your finger, and pull up a loop. Complete the sc. Repeat this alternating technique across the row.
Step 4: Continue the Body.Repeat Step 3 for approximately 30-35 rows. This creates the main body of your wiping garment. Periodically check the length against your hand for a comfortable fit.
Step 5: Shape the Thumb Opening.After completing the main body, you will create an opening for your thumb. Work the distinctive stitch across 10 stitches. Chain 5, then skip the next 5 stitches. Continue the distinctive stitch in the remaining stitches.
Step 6: Close the Thumb Opening.On the next row, work the distinctive stitch across the 10 stitches. Then, work 5 stitches into the chain space. Complete the row with the distinctive stitch in the remaining stitches.
Step 7: Finish the Piece.Continue working the distinctive stitch for another 5-7 rows. This completes the top section. Fasten off, leaving a long tail for seaming.
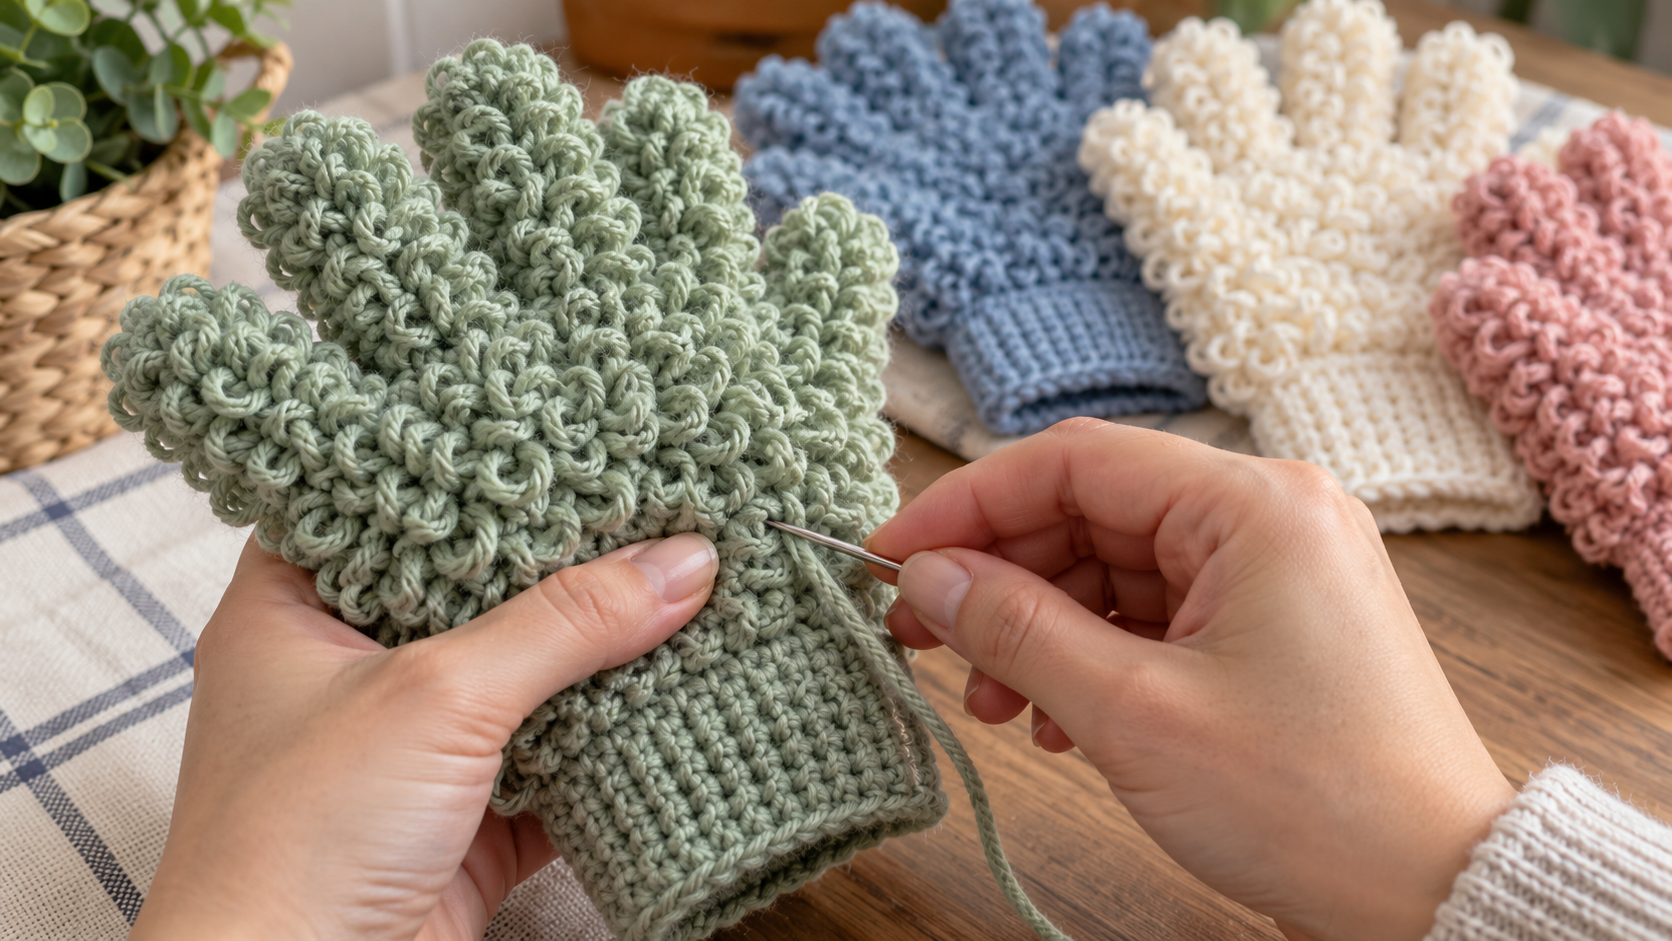
Step 8: Assemble Your Item.Fold your crocheted piece in half lengthwise. Using your tapestry tool and the long tail, seam the sides together. Leave the cuff open. Weave in all remaining loose ends neatly.
Your handmade wiping garment is now complete. You can use it for various tasks around your living space. Alternatively, consider making another one as a thoughtful gift.
Starting the Cuff
Do you want to begin the wristband section of your item? To start the cuff, attach your fiber to one corner of the open edge. This forms the base for your wristband. You will work around the entire opening. Work single crochets evenly around the entire opening of the garment. Aim for approximately 30-35 single crochets in total. This number ensures a snug yet comfortable fit. Join with a slip connection to the first single crochet to form a round. For the subsequent rows, chain one and turn your creation. Work one single crochet in each single crochet around. Join with a slip connection. Repeat this for 5-7 rows. This creates a sturdy and flexible cuff. Finally, fasten off and weave in any loose ends. Your practical accessory is now complete and ready for use.
Creating the Textured Body
Do you want to create the main part of your wiping accessory? This section forms the primary surface that will tackle grime. It provides the distinctive tactile feel for effective wiping. Begin by making a slip knot and forming a foundation chain of 26 connections. This establishes the initial width. Work one single crochet into the second chain from your implement. Continue with one single crochet in each subsequent chain across. You should have 25 single crochets. Chain one and turn your work. In the first single crochet, make a single crochet. For the next connection, insert your tool, wrap the fiber around your finger, and pull up a loop. Complete the single crochet. Repeat this alternating technique across the row. Repeat this technique for approximately 30-35 rows. This creates the main body of your wiping garment. Periodically check the length against your hand for a comfortable fit. You can adjust the number of rows to suit your personal preference.
Finishing Touches and Seaming
What are the final steps for completing yourcrochet sweeper pad? Once the main body and cuff are complete, focus on assembly and refinement. This ensures your crocheted accessory is durable and ready for use. First, carefully weave in all loose ends. Use a tapestry tool to secure any stray fibers. This creates a neat finish and prevents unraveling over time. Trim any excess fiber close to the fabric. Next, fold the piece in half lengthwise. Align the edges precisely. Using the long tail left from fastening off, seam the sides together. Employ a mattress join or whip join for a strong, invisible connection. Leave the cuff opening unseamed. This allows for comfortable wear. Finally, turn your completed item right side out. Inspect your work for any missed connections or loose areas. Your handmade wiping garment is now ready for its purpose. You can also explore othercrochet projectsfor more crafting fun.
Tips for an Effective Dusting Mitt
How can you maximize the effectiveness of your crochet wiping accessory? Proper care and technique significantly enhance its utility. Consider these suggestions to get the most out of your handmade item. First, ensure the item is slightly damp before use. A light misting with water helps trap particles more efficiently. Alternatively, you can use a natural spray polish for added shine on surfaces. Shake the wiping garment outside frequently during use. This dislodges accumulated debris. For heavier soiling, rinse it under running water. Squeeze out excess moisture. After each session, clean your crochet item thoroughly. Hand wash it with mild soap and warm water. Alternatively, machine wash it on a gentle cycle. Lay it flat to dry. This maintains its shape and absorbency. Consider making several of these useful items. This allows you to have a fresh one ready while others are being laundered. You can even try different colors to match various rooms or tasks.
Customization Ideas for Your Mitt
How can you personalize your crochet wiping accessory? Customizing your item allows you to express creativity and tailor it to specific needs. Explore various modifications to make your creation truly unique. Consider experimenting with different fiber types. While cotton is excellent for absorbency, a blend with a small percentage of acrylic can add durability. This could also introduce a slight sheen. Furthermore, varying fiber weights can alter the fabric’s density and feel. Introduce color changes for a vibrant look. You could create stripes or color blocks across the main body. Alternatively, use a contrasting color for the cuff. This adds a decorative element. You might even find inspiration for color combinations from other projects, such as acrochet sweater keychain. Embellishments offer another way to personalize. Small embroidered details or appliques can add charm. You could also attach a decorative button to the cuff. This provides a unique touch to yourcrochet waffle pocket shawl.
Caring for Your Reusable Dusting Mitt
How do you ensure your handmade wiping garment lasts and remains effective? Proper maintenance extends the life of yourcrochet sweeper padand keeps it performing its best. Follow these simple steps to care for your creation. Always rinse your wiping garment immediately after use, especially after tackling heavy grime. This prevents particles from setting deep into the fibers. A quick rinse under warm water is usually sufficient. For a deeper purification, machine launder your item. Use a gentle cycle with cold or warm water and a mild detergent. Avoid harsh chemicals or bleach, as these can degrade the material. You can also place it in a mesh laundry bag for added protection. After laundering, reshape the item gently. Lay it flat on a clean surface or hang it to air dry. Avoid using a high-heat dryer, which can cause shrinkage or damage. Air drying helps maintain its original form and absorbency. Store your dry wiping accessory in a clean, dry place. A drawer or a basket works well. Proper storage prevents mildew and keeps it ready for its next task.
FAQ About Crochet Dusting Mitts
How do you crochet a textured loop stitch dusting mitt?
You begin by creating a foundation chain. Then, you work in rounds, forming the distinctive loops that give this item its scrubbing power. The specific method involves inserting your implement, wrapping the fiber, and pulling through to create the characteristic elevated strands. You can find detailed instructions and visual aids for this technique online, like this example onPinterest.
What is the best fiber for a crochet dusting mitt?
Cotton is generally the top choice for a crochet dusting glove. It is highly absorbent and durable. Furthermore, cotton fibers effectively capture particles. Alternatively, bamboo blends also work well, offering a soft yet robust option for your handcrafted accessory.
Are crochet dusting mitts effective for cleaning?
Absolutely, these handcrafted gloves are very effective for various chores. The raised fibers act like tiny fingers, grabbing and holding onto small particles. They are particularly useful for wiping surfaces and polishing items, making them a versatile addition to your routine.
How do I make a reusable crochet cleaning mitt?
To craft one of these practical items, you will need a suitable fiber, an implement, and a guide. The process involves creating a series of interlocking loops to form the glove shape. Consider making several so you always have a fresh one ready for use. You can also explore other practical crochet items, like acrochet reusable sweeper pad, to expand your collection of handmade helpers.
Can I machine wash my crochet dusting mitt?
Yes, you can typically machine launder your crochet dusting glove. Use cold water and a gentle cycle to help maintain its shape and integrity. It is best to air dry it flat to prevent stretching. This simple care routine ensures your handmade item remains effective for many uses.


