
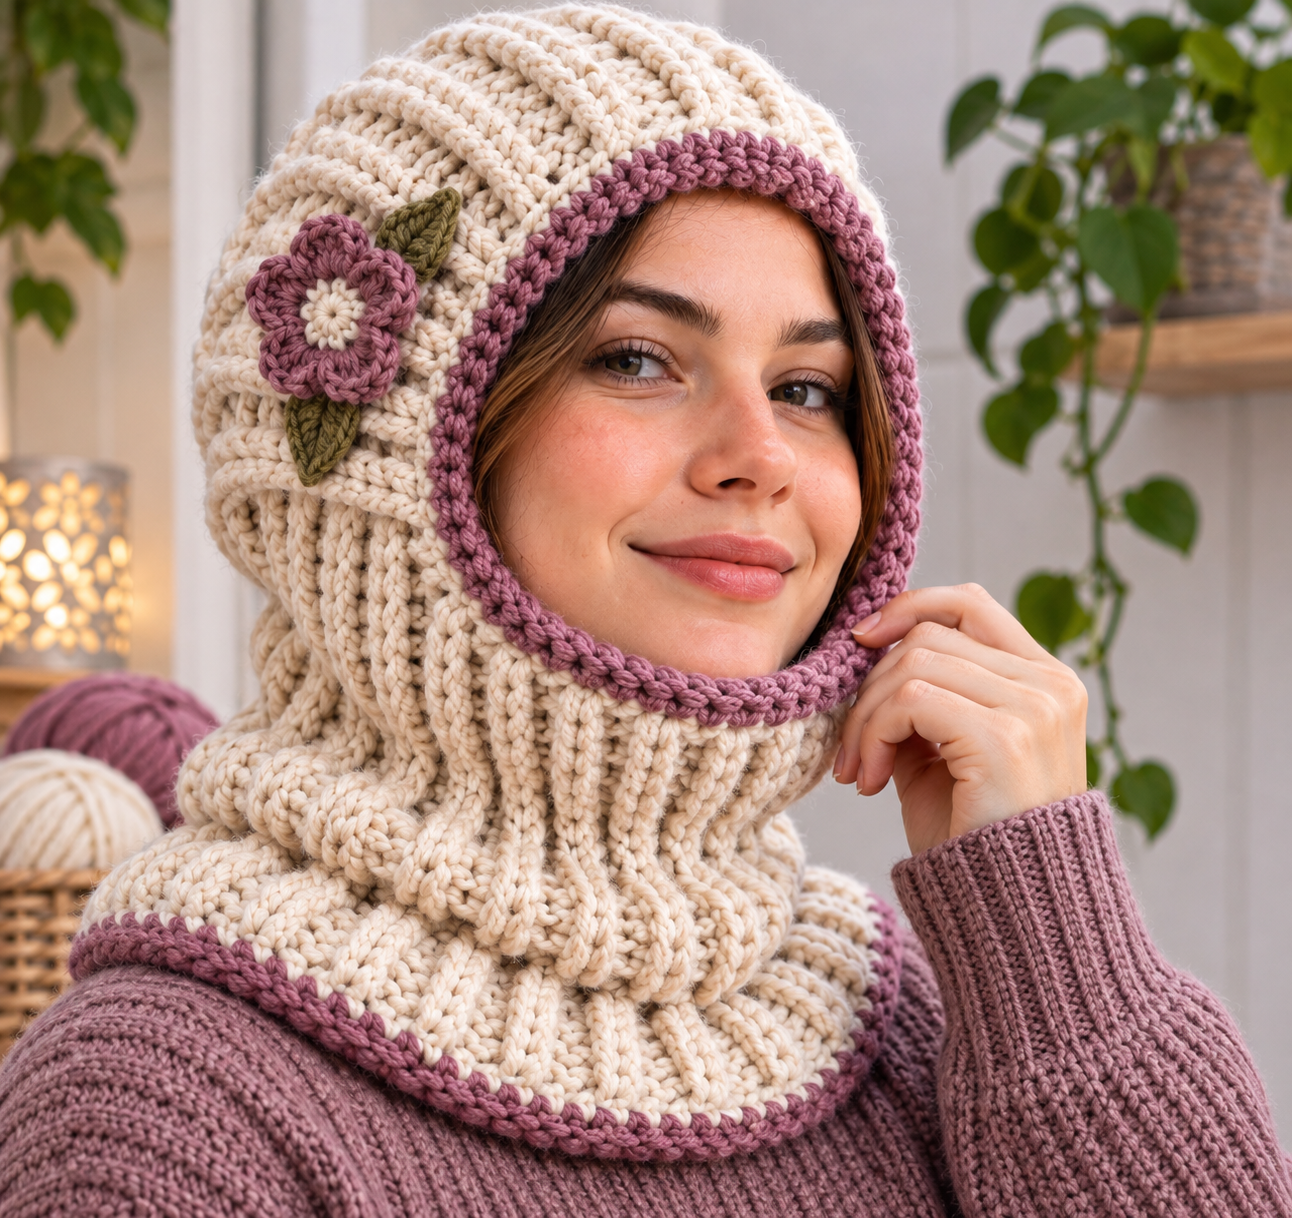
Are you looking for a project that combines warmth and style? Acrochet chunky ribbed thermal balaclava hoodoffers ultimate coziness. This unique accessory covers your head, neck, and sometimes part of your face. It provides excellent protection against cold weather. Imagine staying warm during frosty outdoor activities or simply enjoying a snug evening at home.
This particular design features achunkyconstruction, making it extra warm and quick to create. Theribbedtexture adds elasticity and a classic look. It also enhances the insulating properties, making it trulythermal. You will use simpledouble crochetstitches to achieve this beautiful texture. Thiscrochethoodis perfect for beginners and experienced crafters alike. You will love working with the thickyarn.
This guide will walk you through each step of thepattern. You will learn how to craft your own stylish andcozybalaclava. Get ready to embrace the warmth and comfort of a handmade accessory. It is a fantastic project for gifting or keeping for yourself.
Why a Chunky Ribbed Thermal Balaclava Hood is Your Winter Essential
A chunky ribbed thermal balaclava hood is your winter essential because it offers unmatched warmth and versatility. Thiscrochetaccessory provides comprehensive coverage for your head, neck, and even acts as aface mask. It shields you from harsh winds and freezing temperatures. Imagine staying comfortably warm during all your outdoor adventures. Furthermore, its unique ribbed texture traps heat effectively. This makes it an ideal choice for extreme cold. The chunkyyarnworks up quickly, so you can finish your project in no time. Ourpatterniseasyto follow, even for beginners. You can also find afree patternto get started. Thisbalaclavais suitable for anyadultsize. The detailedtutorialguides you through everystitch. Consequently, you will create a durable and stylish piece. It is perfect for skiing, hiking, or just enjoying a snowy day.
Understanding the ‘Chunky Ribbed Thermal’ Difference
What makes a “chunky ribbed thermal” item stand out? This combination refers to specific design and material choices. These choices maximize comfort and provide excellent insulation. The “chunky” aspect means using thicker yarn. Thicker yarn creates a denser fabric. This traps more air, which helps keep you comfortable. The “ribbed” texture comes from alternating front and back post stitches in your crochet work. This creates vertical ridges. These ridges add elasticity and a snug fit. Furthermore, the “thermal” element highlights the material’s ability to retain body heat. When you combine these features, you get a highly effective accessory. This particular crochet pattern focuses on these qualities. You will use a specific hook size with your chosen yarn.
Choosing the Right Yarn for Ultimate Warmth and Texture
Choosing the right fiber is crucial for achieving superior coziness and a pleasing feel in yourcrochet chunky ribbed balaclava hood. What fiber options offer the best insulation and tactile appeal? Natural fibers are often your best bet for this project. They provide excellent breathability and softness against the skin. Consider using merino wool or alpaca for exceptional comfort. These fibers are incredibly soft and light. They also regulate body temperature effectively. Alternatively, a high-quality acrylic blend can offer durability and easy care. It also presents a more budget-friendly option. When selecting your fiber, pay attention to its weight. A super bulky (category 6) or jumbo (category 7) weight is ideal. This ensures your project works up quickly. It also creates that desirable chunky aesthetic. The right fiber enhances both the function and beauty of your handmade garment.
Essential Crochet Stitches for Your Balaclava Hood
To create your cozy headwear, you will primarily use a few fundamental crochet techniques. These techniques form the core of the pattern. Mastering them ensures a beautiful and functional finished piece. The main stitch you will employ is the half double crochet (HDC). This stitch provides a dense fabric. It is perfect for insulating properties. You will also use front post half double crochet (FPHDC) and back post half double crochet (BPHDC). These create the textured effect. Furthermore, single crochet (SC) will be used for edgings. This provides a neat and firm finish. Slip stitches (SL ST) help join rounds seamlessly. Understanding these basic building blocks is key. Consequently, you can confidently craft yourcrochet balaclava hood.
Selecting the Perfect Hook Size
How do you choose the best hook for your project? The ideal implement depends heavily on your chosen yarn and desired fabric density. For a substantial piece like this, a larger implement is usually necessary. This accommodates the thicker fibers effectively. Refer to your yarn label for recommended implement specifications. Typically, super bulky or jumbo fibers pair well with a hook between 9 mm (M/N) and 15 mm (P/Q). A larger implement creates a looser fabric. Conversely, a smaller one yields a tighter, denser textile. Always make a gauge swatch before starting your main item. This small sample helps you check your tension. It also confirms if your fabric matches the pattern’s specifications. Adjust your implement if your swatch is too loose or too tight. This ensures yourcrochet headwearfits correctly.
Step-by-Step Guide to Crocheting Your Balaclava Hood
Do you want to create your owncrochet balaclava hood? Follow these instructions to construct your head covering. This pattern is suitable for intermediate crafters. It results in a comfortable and protective garment.
Step 1: Create the Base Band.Begin by chaining enough stitches to comfortably fit around your head. Ensure the number of chains is a multiple of two. Join with a slip stitch to form a ring.
Step 2: Work the Body.Continue working in rounds using alternating front post and back post half stitches. This creates the desirable textured fabric. Continue until the fabric reaches just above your eyebrows.
Step 3: Shape the Face Opening.For the facial aperture, you will begin working in rows instead of rounds. Continue the alternating post half stitches across most of the round. Leave a gap for your face.
Step 4: Form the Top.Once the face opening is complete, rejoin your work to continue in rounds. Decrease stitches evenly across each round. This shapes the top of the headwear.
Step 5: Finish with Edging.After closing the top, work a round of single stitches around the face opening and bottom edge. This provides a neat, secure finish. Weave in all loose ends for a polished look.
Starting with the Ribbed Band
How do you begin crafting yourcrochet balaclava hood? You start by creating the foundational band. This initial section will encircle your head. It forms the essential base for the entire headwear. First, make a slip knot. Then, chain a length that comfortably fits around your head. This measurement is crucial for a good fit. Ensure your chain count is an even number. Joining the chain with a slip connection creates a continuous ring. This completes your initial band.
Shaping the Hood and Face Opening
How do you create the distinct shape of your balaclava and its facial aperture? You will transition from working in continuous rounds to working in flat rows. This method allows you to form the opening precisely. It ensures a comfortable fit around your face. First, identify where the face opening will be. You will stop working across the entire round at this point. Instead, you will turn your work. Continue with your established pattern across the remaining area. This creates a flat panel. You will work back and forth in rows until the opening is the desired height. Consequently, this technique helps sculpt the head covering effectively.
Finishing Touches and Customization
What are the finishing touches and customization options for yourcrochet balaclava? After completing the main structure, you can add personal flair. These final steps ensure durability and enhance its appearance. First, weave in all loose yarn ends. This creates a neat and professional look. Consider adding a decorative edging around the facial aperture or bottom hem. A simple round of single connections can provide a crisp finish. Alternatively, you might add a contrasting color for visual interest. You can also personalize your headwear with various embellishments. Attach a smallcrochet sweater keychainor an embroidered patch. Furthermore, explore different yarn textures for future projects. This allows for unique creations every time.
Care and Maintenance for Your Handmade Balaclava
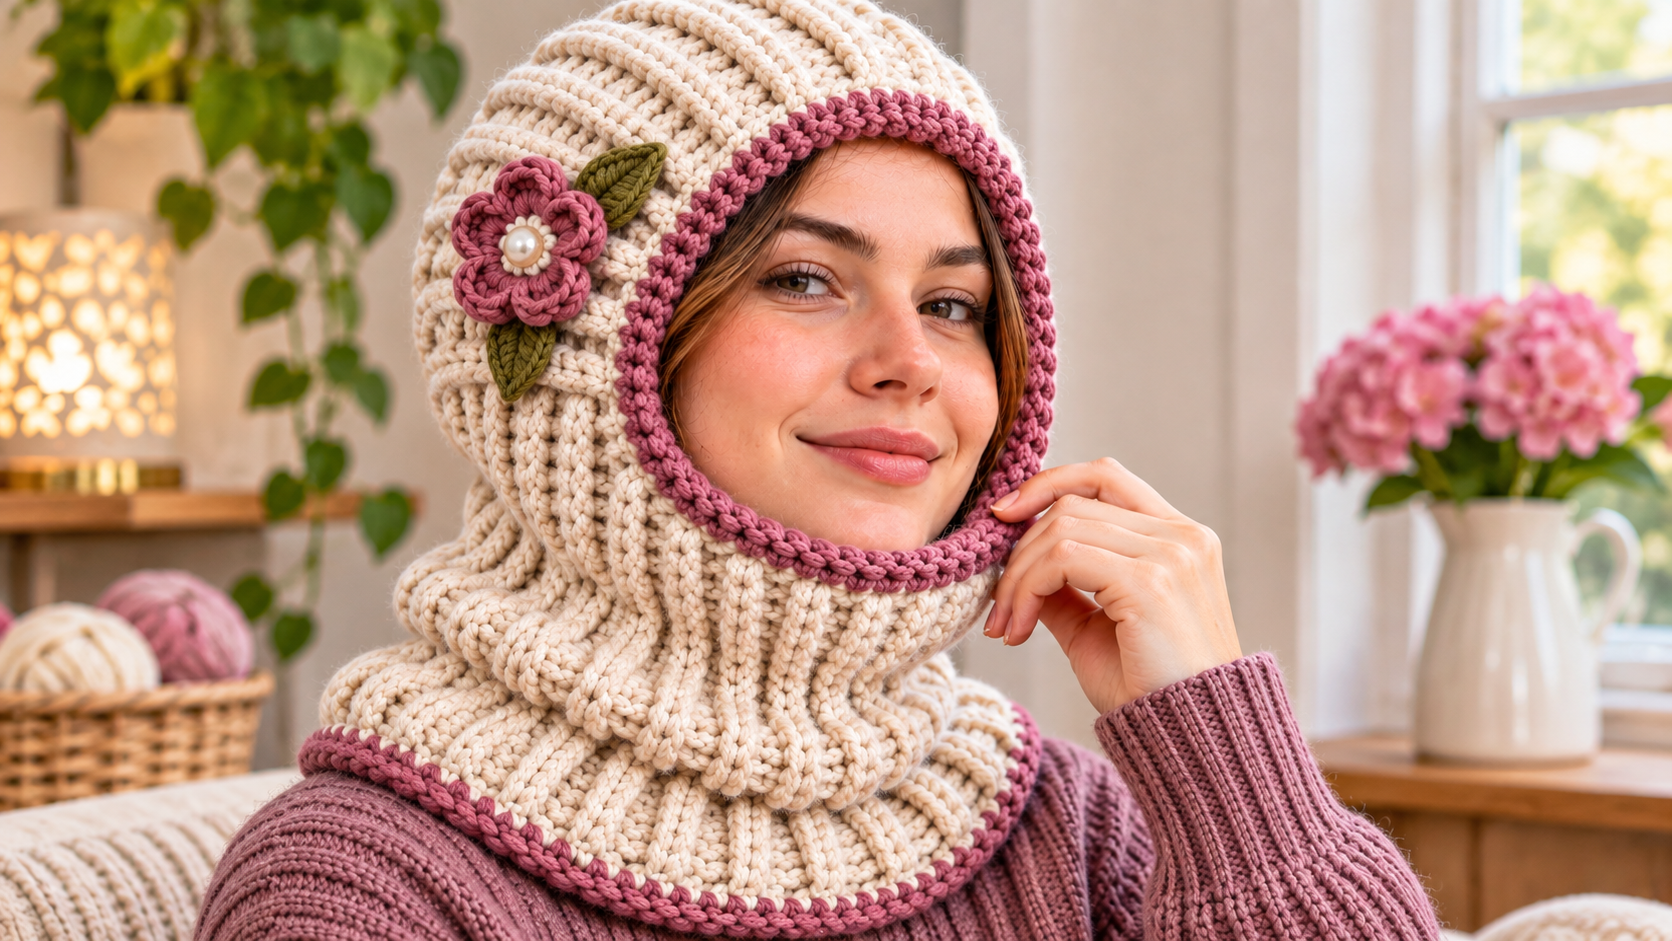
How do you properly care for your handmadecrochet balaclava hood? Proper care ensures its longevity and maintains its appearance. Following simple guidelines will keep your headwear in excellent condition. Always check the yarn label for specific washing instructions. Most acrylic or wool blends recommend hand washing. Use cool water and a mild detergent. Gently squeeze out excess water without twisting the fabric. Lay the item flat on a clean towel to air dry. Reshape it as needed while damp. This prevents stretching and preserves its form. Avoid hanging it, as this can distort the shape.
Finding the Perfect Pattern: Free vs. Paid Options
Are you wondering how to find the ideal pattern for yourcrochet balaclava? Both free and paid options offer unique benefits. Your choice depends on your experience level and desired complexity. Free patterns are excellent for beginners. They often provide straightforward instructions. Many independent creators share their patterns online. These resources allow you to try new projects without financial commitment. However, they may offer less detailed guidance or fewer customization options. Paid patterns typically provide comprehensive instructions. They often include step-by-step photos or video tutorials. These can be invaluable for intricate projects. Furthermore, designers of paid patterns usually offer support. This ensures a smoother crafting experience. Consider your budget and the specific features you need.
Styling Your Chunky Ribbed Thermal Balaclava Hood
How can you style yourbalaclava hoodfor various occasions? This versatile accessory offers both practicality and fashion. You can integrate it seamlessly into different outfits. For a casual look, pair your headwear with an oversized sweater and jeans. This creates a relaxed and comfortable ensemble. Consider layering it under a puffer jacket for added insulation. The hood provides extra protection against cold weather. Alternatively, wear it with a long wool coat for a more polished appearance. This elevates your winter attire. Experiment with different colors to match your wardrobe. A neutral-toned piece complements almost any outfit. Bright colors, conversely, add a pop of personality. You can also accessorize with scarves or gloves. This enhances the overall aesthetic. Think about the functionality and fashion equally.
Frequently Asked Questions
How do I make a balaclava?
You can create this snug head covering by following a detailed pattern. Typically, you will begin with a foundation chain and then work in rounds. The construction often involves creating the face opening separately before joining sections. This method ensures a comfortable fit and ample coverage for your head and neck.
What yarn is best for a balaclava?
For a truly insulating headpiece, select a bulky weight yarn. Materials like wool or acrylic blends are excellent choices. These fibers offer superior insulation and create a dense fabric. Furthermore, they are often soft against the skin, providing maximum comfort.
Is a balaclava insulating?
Yes, this particular headwear offers excellent insulation. The specific construction creates a dense fabric that traps body heat effectively. This makes it ideal for cold weather conditions. Consequently, it provides significant protection against chilly winds and low temperatures.
Where can I find a pattern for a balaclava?
You can discover numerous patterns online for a balaclava. Many crafting websites and platforms offer free or paid guides. A quick search onGooglewill lead you to various options, including video tutorials and written instructions. Consider looking for patterns that specify a bulky yarn for optimal results.
What skill level is required to make this balaclava?
This project is suitable for those with intermediate skills. You should be familiar with basic techniques such as chaining, slip knots, and working in the round. Understanding how to read a pattern and maintain consistent tension will also be beneficial. It is a rewarding project for advancing your crafting abilities.


